The previous tutorial discussed prioritizing the Test Cases using TestNG. In this tutorial, we will see how we can disable the Test Cases using TestNG.
Imagine there are 100 test cases in a Regression Test Suite. We need to execute 99 test cases in a release and do want not to execute any particular test case. But we do not want to delete that test case from the Test Suite also. In this case, TestNG has a feature that allows skipping a particular test case by setting the parameters to.
@Enabled Annotation
@Test(enabled = false)
To use two or more parameters in a single annotation, separate them with a comma:
@Test(priority = 3, enabled = false)
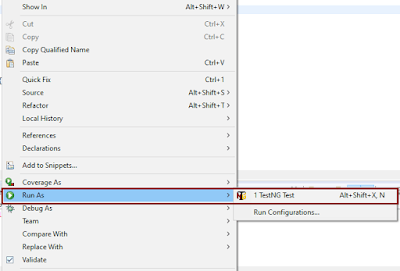
To Run the TestNG program, Right-click on the program, and select Run As TestNG Test.
Below is an example to implement the above-mentioned scenario.
import org.testng.annotations.Test;

public class TestNGDisableDemo {

    @Test(priority = 3)
     public static void FirstTest() {
           System.out.println("This is Test Case 1, but after priority Test Case 3");
     }

     @Test(priority = 4)
     public static void SecondTest() {
          System.out.println("This is Test Case 2, but after priority Test Case 4");
     }

     @Test(enabled = false)
     public static void ThirdTest() {
           System.out.println("This is Test Case 3, but now skipped");
     }

     @Test(priority = 1)
     public static void FourthTest() {
            System.out.println("This is Test Case 4, but after priority Test Case 1");
     }
}
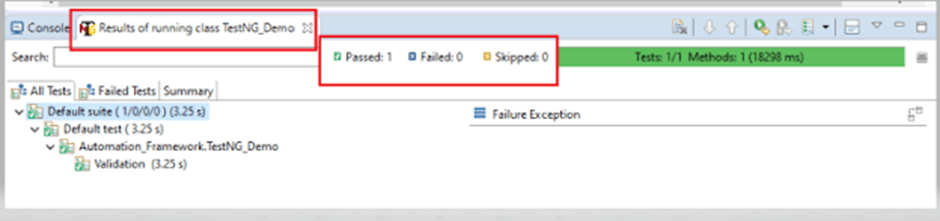
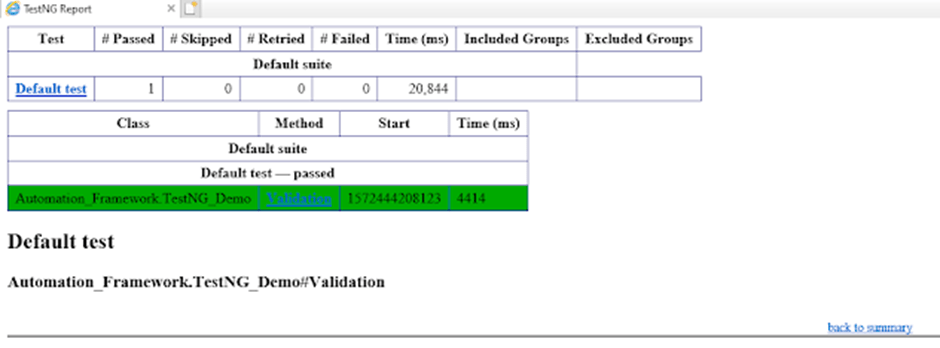
The output of the above program is

@Ignore Annotation
There is another way of skipping the tests by using the @Ignore annotation.
TestNG lets you ignore all the @Test methods :
- In a class (or)
- In a particular package (or)
- In a package and all of its child packages
Ignore a Test
Below is an example where we have skipped the execution of a particular test.
import org.testng.annotations.Ignore;
import org.testng.annotations.Test;

public class IgnoreDemo{

	@Test
	public void FirstTest() {

		System.out.println("This is Test Case 1");

	}

	@Test
	public void SecondTest() {

		System.out.println("This is Test Case 2");

	}

	@Ignore
	@Test
	public void ThirdTest() {

		System.out.println("This is Test Case 3");

	}

	@Test
	public void FourthTest() {

		System.out.println("This is Test Case 4");

	}

}
In the above example, we have assigned @Ignore to the third test. So, this test should be skipped while the execution.
The output of the above program is

Ignore a Class
To understand this concept, we need to create 2 test classes – IgnoreDemo and IgnoreDemo2. Imagine we want to ignore all the tests in the class, so we can use @Ignore at the class level.
IgnoreDemo
import org.testng.annotations.Ignore;
import org.testng.annotations.Test;

@Ignore
public class PriorityDemo {

	@Test
	public void FirstTest() {

		System.out.println("This is Test Case 1");

	}

	@Test
	public void SecondTest() {

		System.out.println("This is Test Case 2");

	}


	@Test
	public void ThirdTest() {

		System.out.println("This is Test Case 3");

	}

	@Test
	public void FourthTest() {

		System.out.println("This is Test Case 4");

	}

}
IgnoreDemo2
package com.example;

import org.testng.annotations.Ignore;
import org.testng.annotations.Test;


public class PriorityDemo2 {

	@Test
	public void FirstTest() {

		System.out.println("This is Test Case 1 of Class 2");

	}

	@Test
	public void SecondTest() {

		System.out.println("This is Test Case 2 of Class 2");

	}


	@Test
	public void ThirdTest() {

		System.out.println("This is Test Case 3 of Class 2");

	}

	@Test
	public void FourthTest() {

		System.out.println("This is Test Case 4 of Class 2");

	}

}
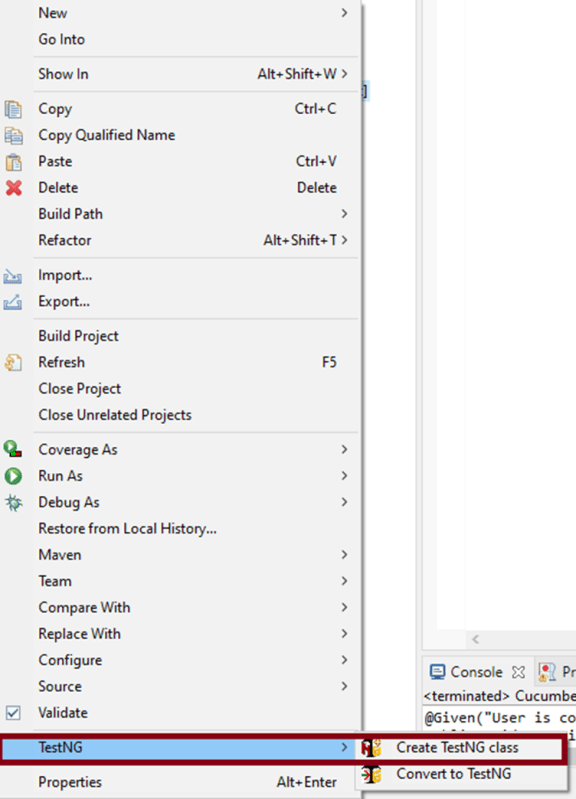
To run both the classes together, we need to create a testng.xml. The easiest way is to select both the classes and Right-Click and select TestNG -> Convert to TestNG.

testng.xml
<?xml version="1.0" encoding="UTF-8"?>
<!DOCTYPE suite SYSTEM "https://testng.org/testng-1.0.dtd">
<suite name="Suite">
  <test thread-count="5" name="Test">
    <classes>
      <class name="com.example.PriorityDemo2"/>
      <class name="com.example.PriorityDemo"/>
    </classes>
  </test> <!-- Test -->
</suite> <!-- Suite -->
Right-click on the testng.xml and select Run As -> TestNG Suite.
As we have assigned the @Ignore annotation at the class level of PriorityDemo class, it will ignore all the 4 tests present in that particular class.
The output of the above program is

We are done. Congratulations on making it through this tutorial and hope you found it useful!