Last Updated On
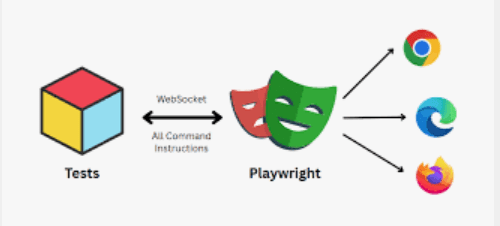
Playwright can be used to get access to the REST API of the application.
There are instances when you might prefer to send requests directly from Node.js without the need to load a webpage or execute JavaScript within it. Here are a few scenarios where this approach can be particularly useful:
Evaluating your server API directly for testing purposes.
Configuring the server-side state prior to interacting with your web application during a test.
Verifying server-side conditions after performing certain actions within the browser.
In this tutorial, we will execute GET request in Playwright.
What is GET Request?
A GET request is an HTTP method used to retrieve data from a specified resource on a server, such as when you browse a website or an API. It’s considered a safe, read-only operation that should not change any data on the server.
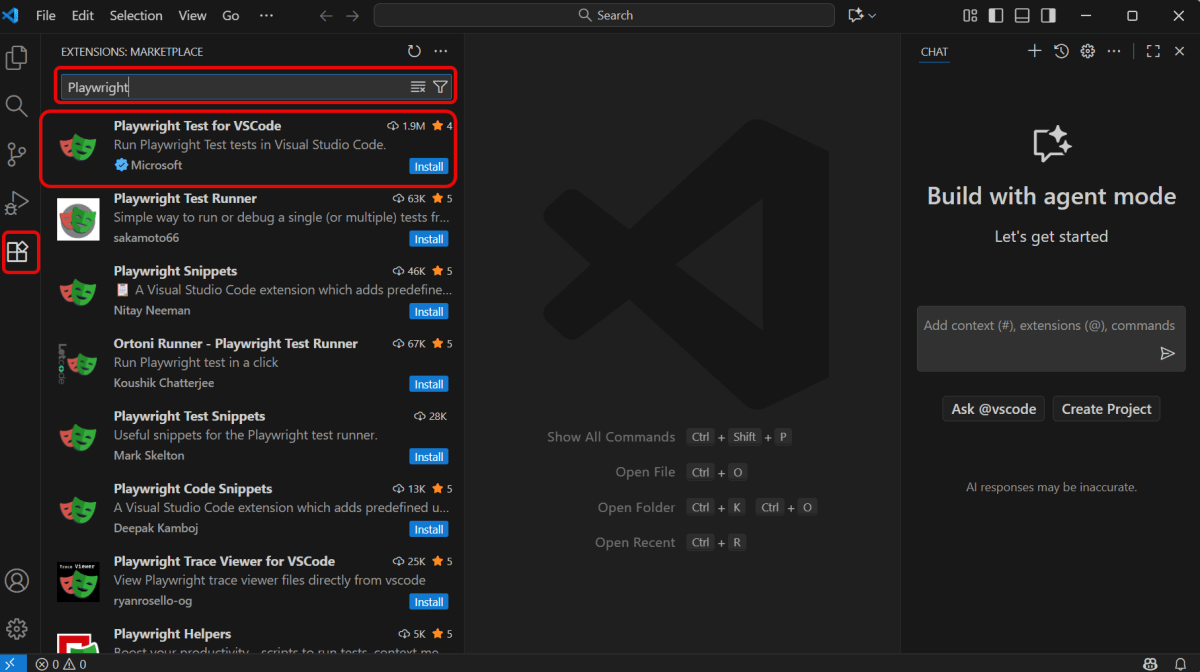
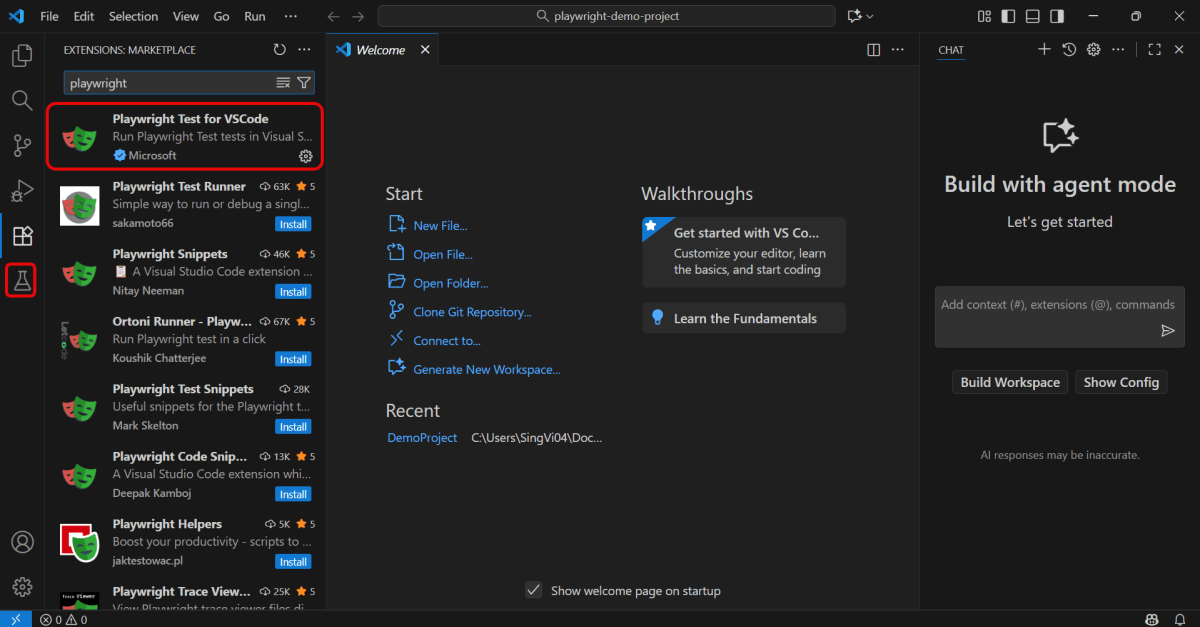
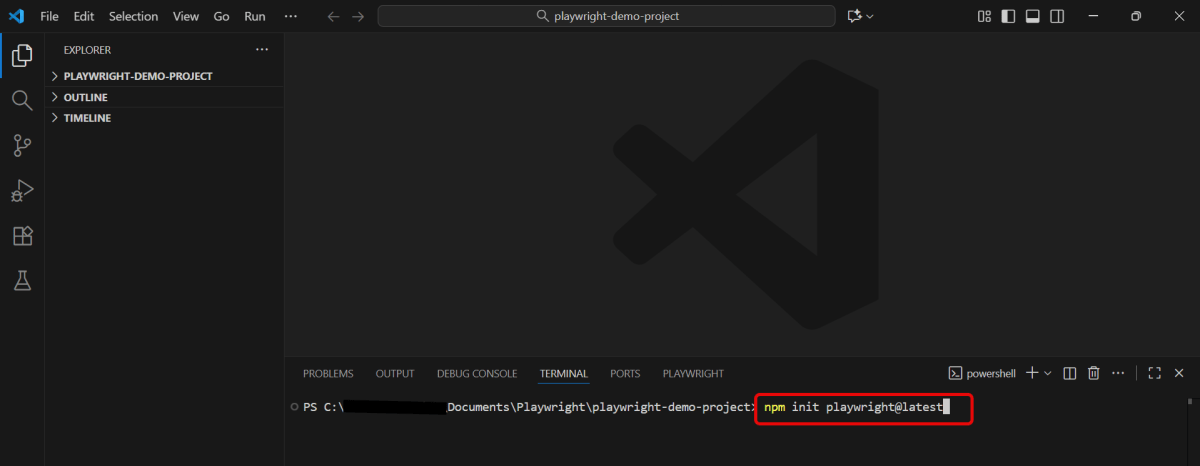
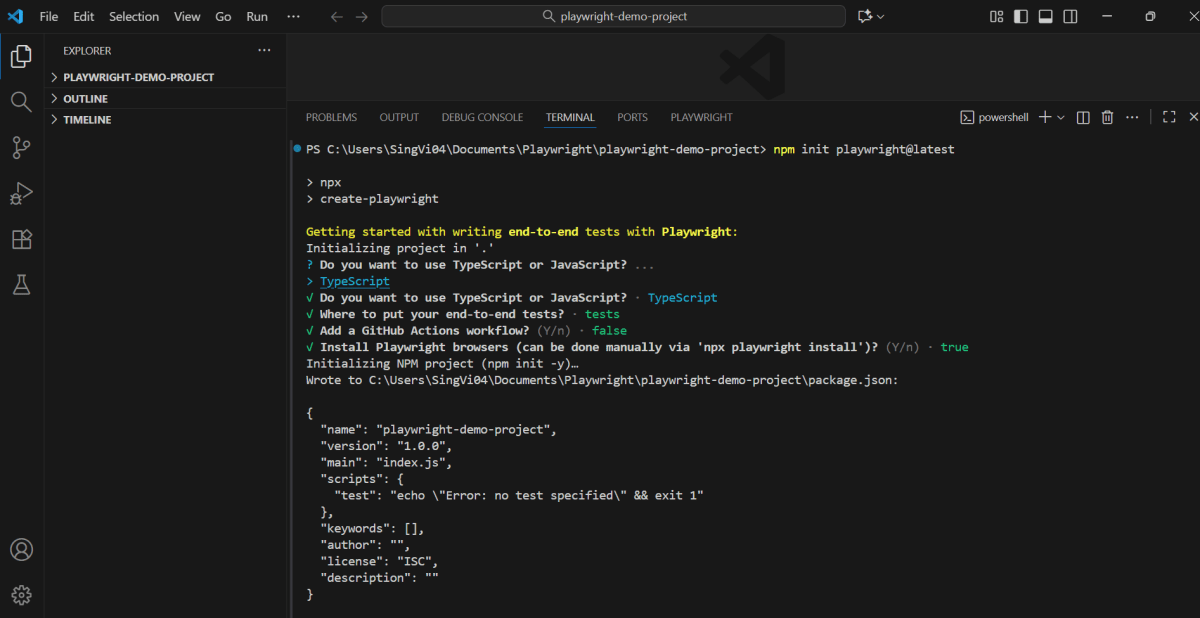
1. Setup Your Playwright Testing Environment:
Verify that the Playwright installed in your project. If you haven’t yet installed it, you can use:
npm install playwright
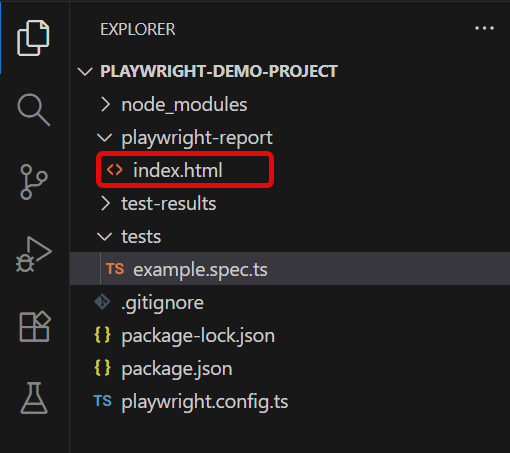
2. Update playwright.config.ts
Playwright Test comes with a few built-in reporters for different needs and ability to provide custom reporters. We will add detail in playwright.config.ts to generate the html report, once the test execution is finished.
import { defineConfig } from '@playwright/test';

export default defineConfig({
  reporter: 'html',
});
3. Writing the API Test
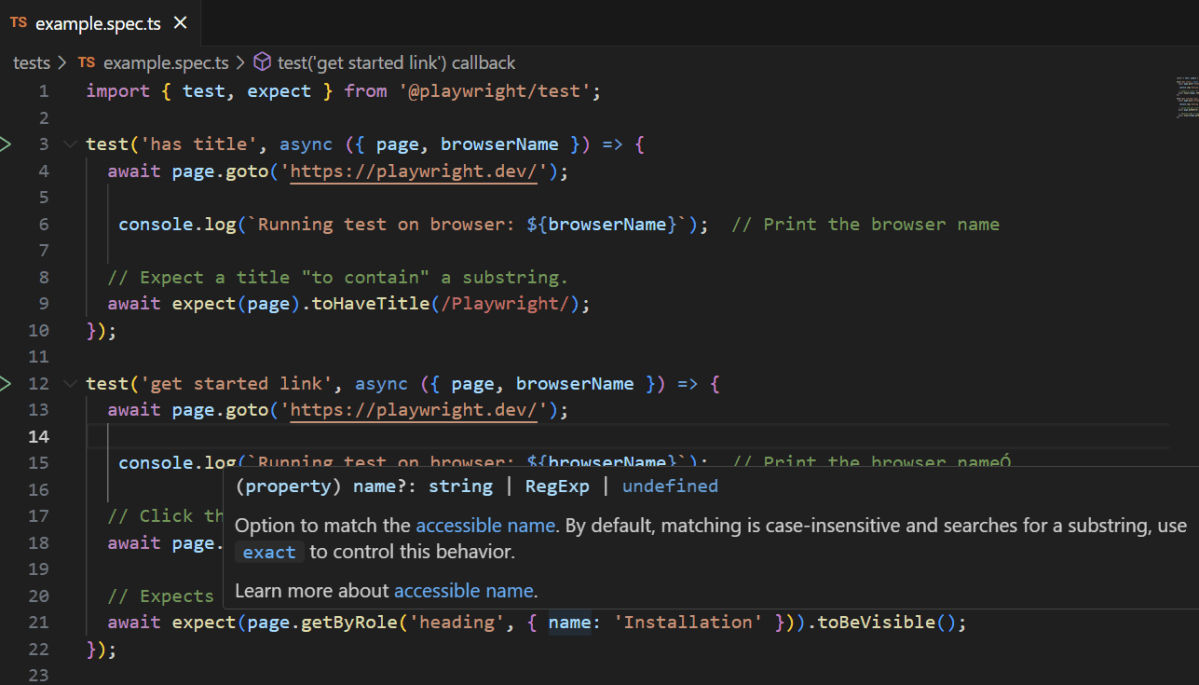
Here’s an example script demonstrating API testing for GET operation using Playwright:
import { test, expect } from '@playwright/test';

test('API Testing - GET with Playwright', async ({ request }) => {

     // Perform a GET request
     const response = await request.get('https://jsonplaceholder.typicode.com/users/1');

     // Check the response status code
     expect(response.status()).toBe(200);

    // Parse the response data
     const responseBody = await response.json();
     console.log(responseBody);

     // Assertions based on expected response
     expect(responseBody).toHaveProperty('id', 1);
     expect(responseBody).toHaveProperty('name','Leanne Graham');
     expect(responseBody).toHaveProperty('address.zipcode','92998-3874');
     expect(responseBody).toHaveProperty('address.geo.lat','-37.3159');

   });
Explanation:
1. Imports
This line imports the test and expect functions from Playwright’s testing library. These functions provide a structure for writing tests and asserting conditions within them.
import { test, expect } from '@playwright/test';
2. Test Definition
This defines an asynchronous test case named “API Testing with Playwright”. The test receives a `request` object as a parameter, which is used to perform HTTP requests.
test('API Testing - GET with Playwright', async ({ request }) => {
3. Performing a GET Request
Sends a GET request to the specified URL.
const response = await request.get('https://jsonplaceholder.typicode.com/users/1');
4. Checking the Response Status Code
Retrieve HTTP status code for response validation.
expect(response.status()).toBe(200);
5. Parsing the Response Data
Parse response data into JSON format
const responseBody = await response.json();
6. Logging the Response
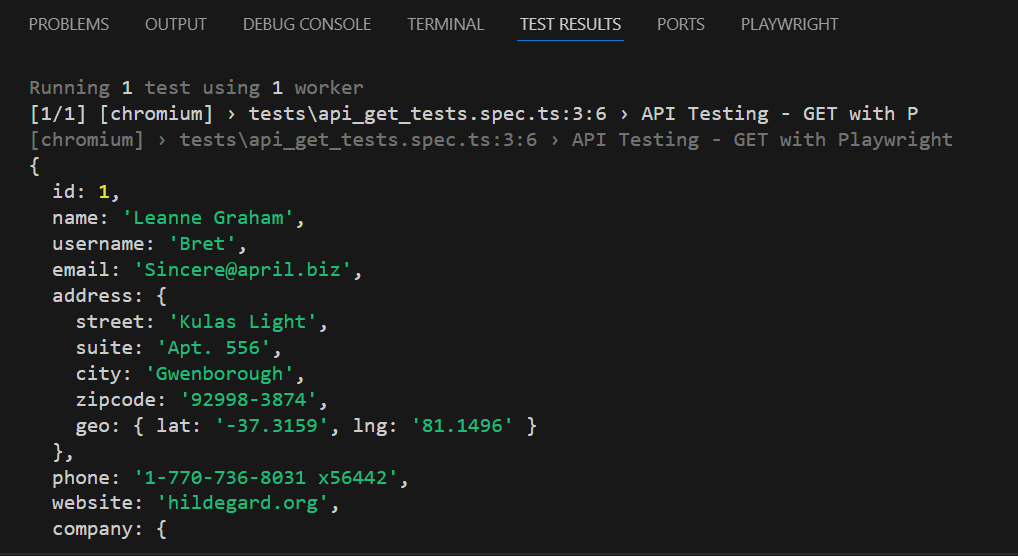
This outputs the response body to the console, allowing you to see the returned JSON data.
console.log(responseBody);
7. Perform assertions on the response
The assertions verify that the response contains expected data.
- Confirms the response contains an id property with the value 1.
- Asserts that the name property matches ‘Leanne Graham’.
- Checks that the zipcode within the address object is ‘92998-3874’.
- Ensures the latitude within the geo object of the address is ‘-37.3159’.
expect(responseBody).toHaveProperty('id', 1);
expect(responseBody).toHaveProperty('name','Leanne Graham');
expect(responseBody).toHaveProperty('address.zipcode','92998-3874');
expect(responseBody).toHaveProperty('address.geo.lat','-37.3159');
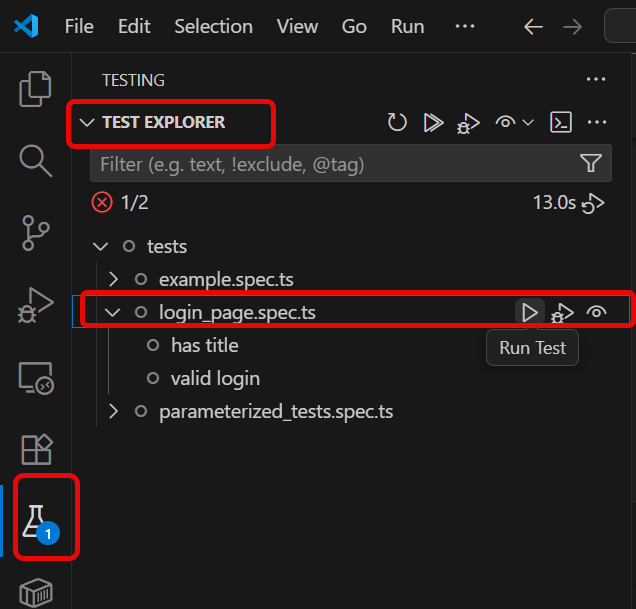
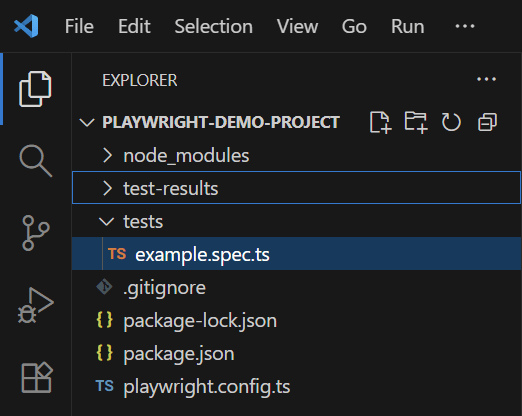
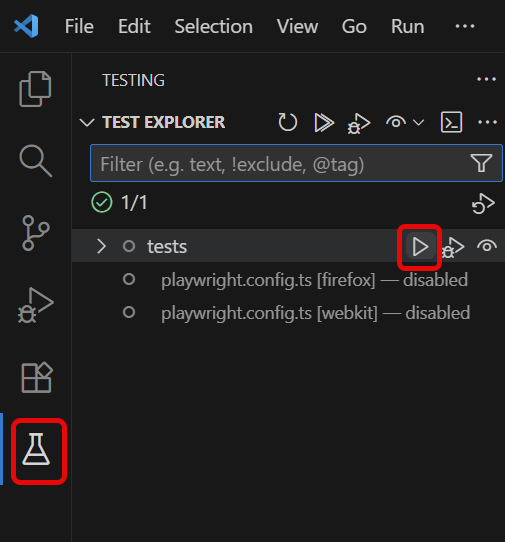
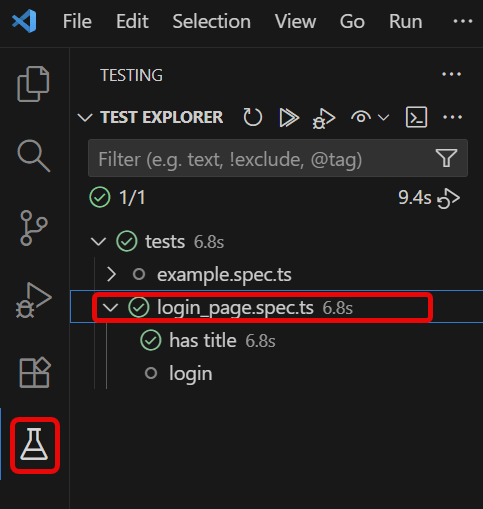
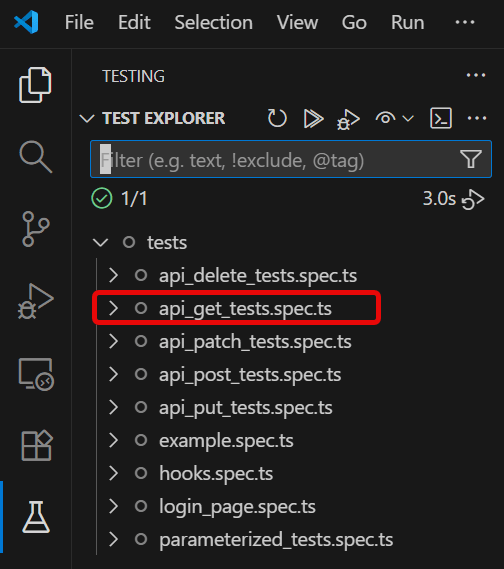
4. Execute the tests through Test Explorer View
Go to the funnel shape icon called “Testing” or “Test Explorer View”. You can run the tests from the test Explorer view too now. You can run all of the tests in all of the test specs in this directory.
You can also come in and run all of the tests in a particular specification file. Alternatively, run individual tests within a specification file. Here, I want to run the tests of api_get_tests.spec.ts file.
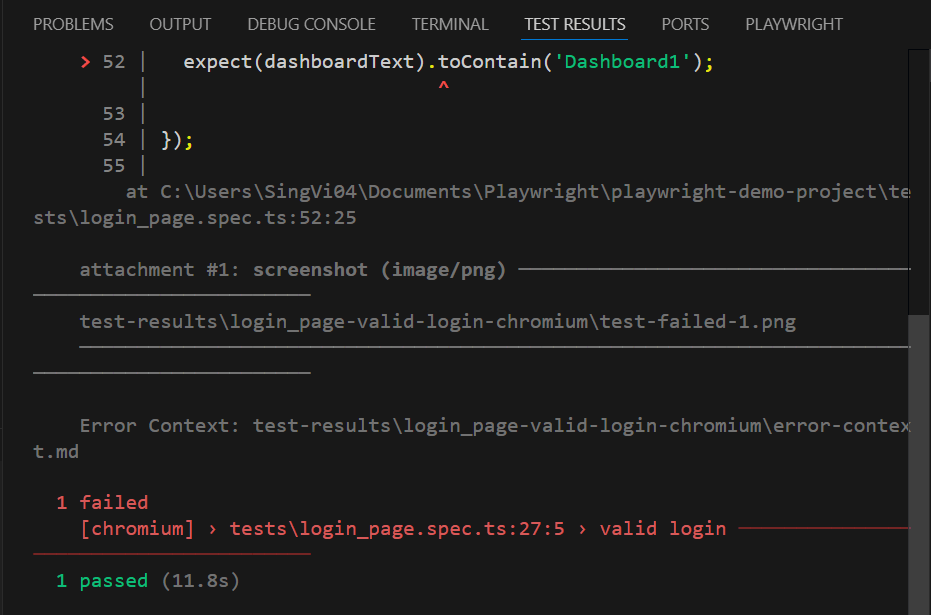
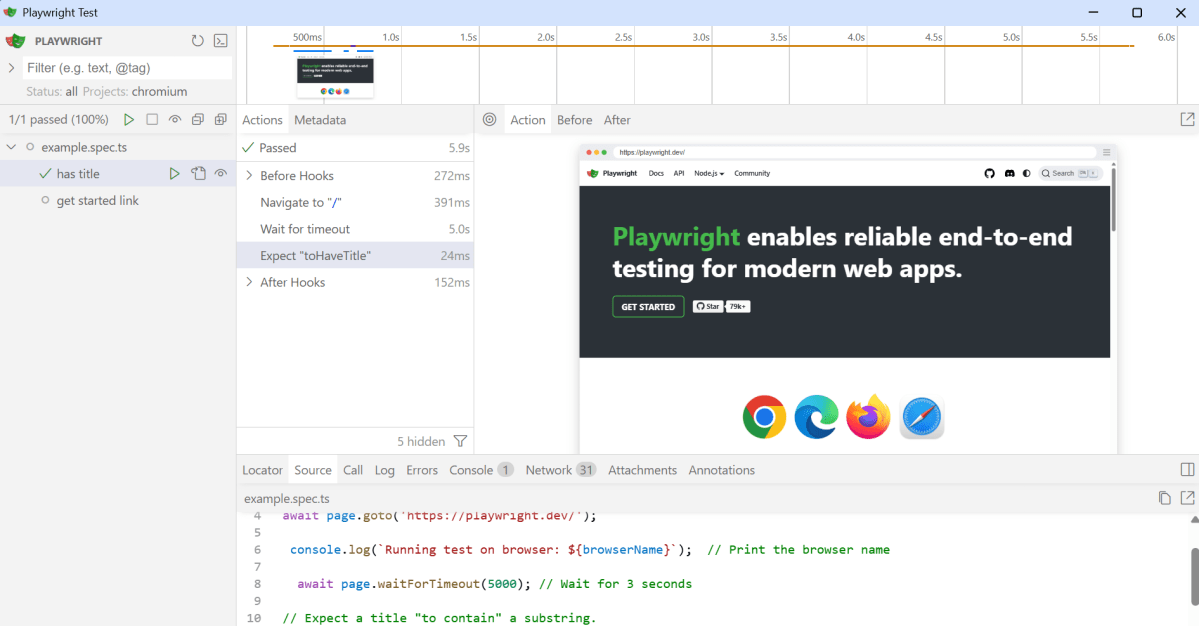
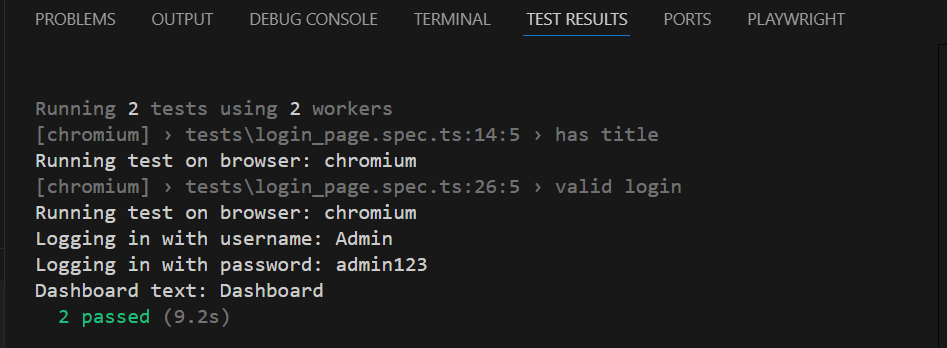
The output of the above program is
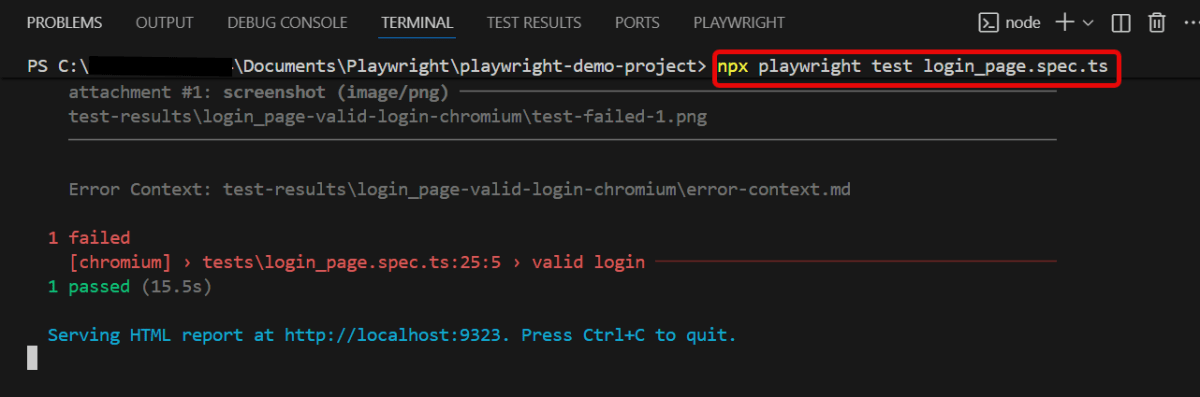
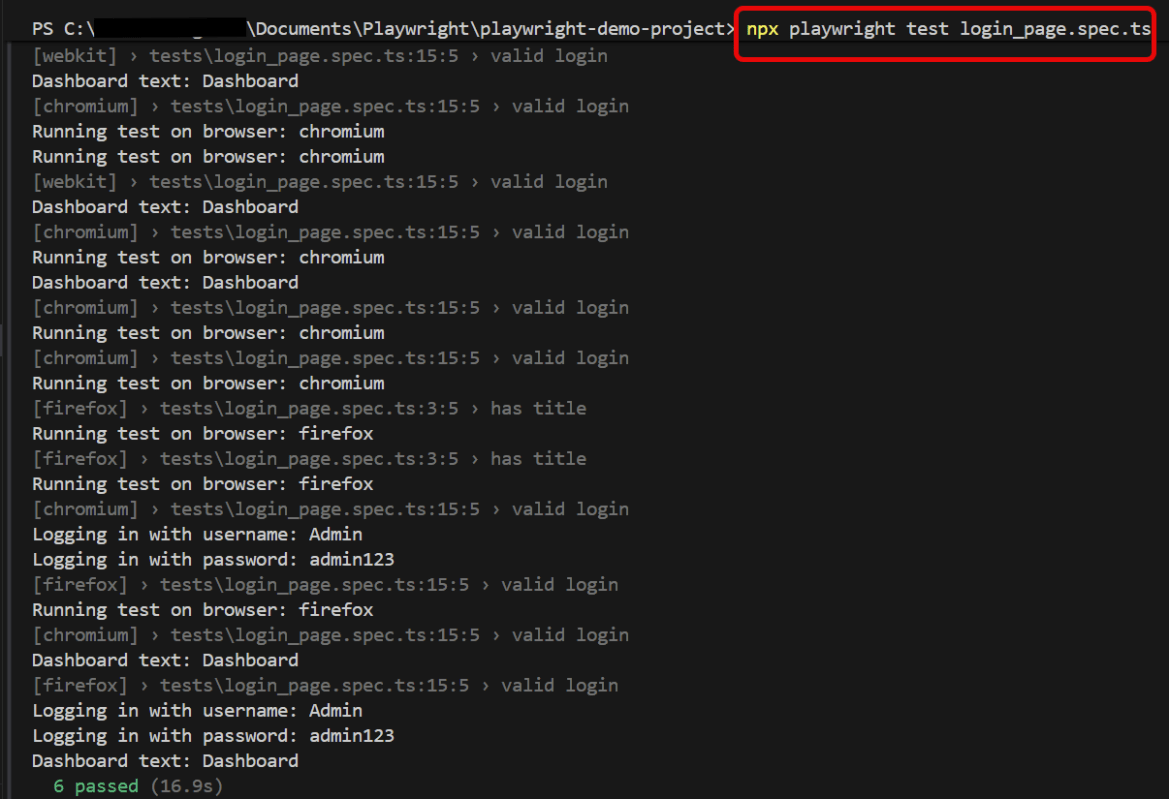
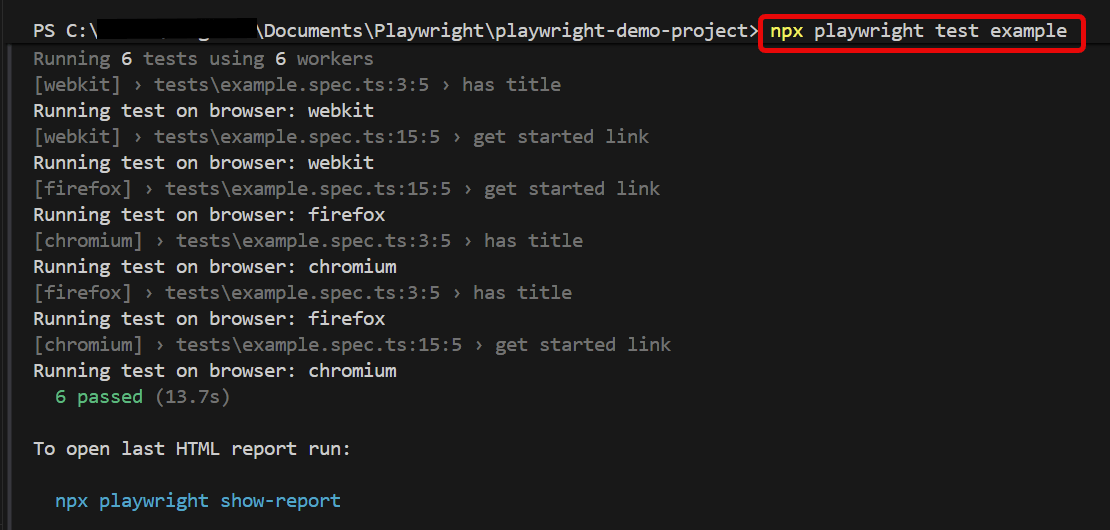
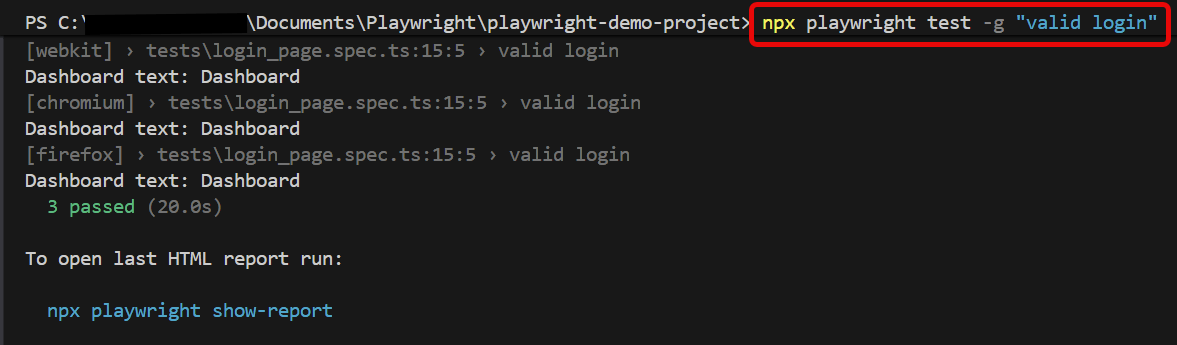
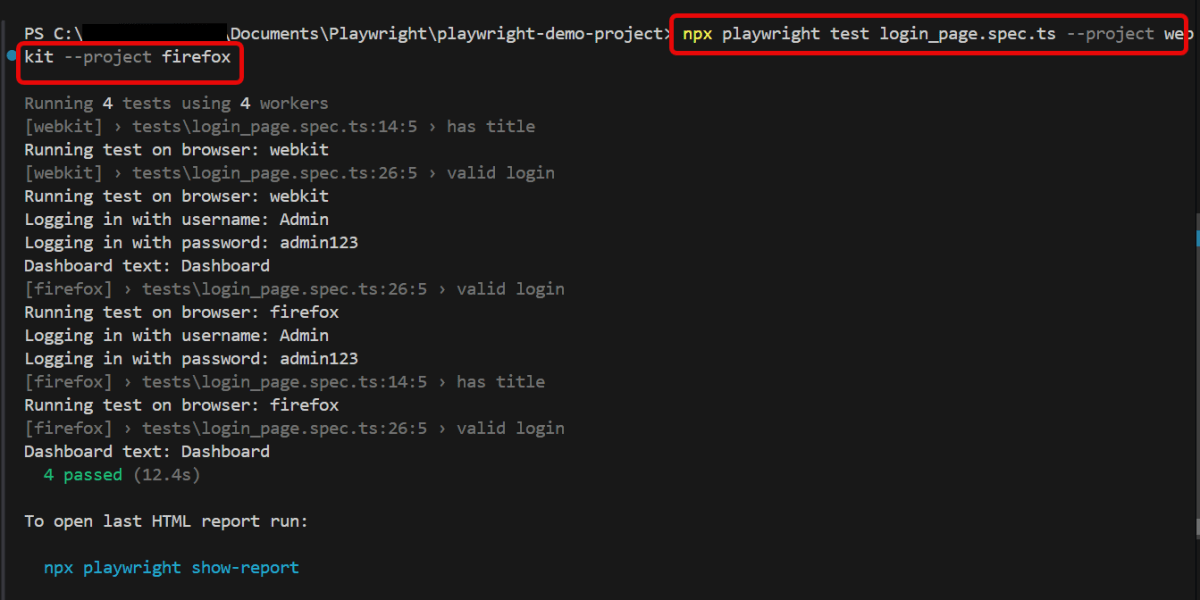
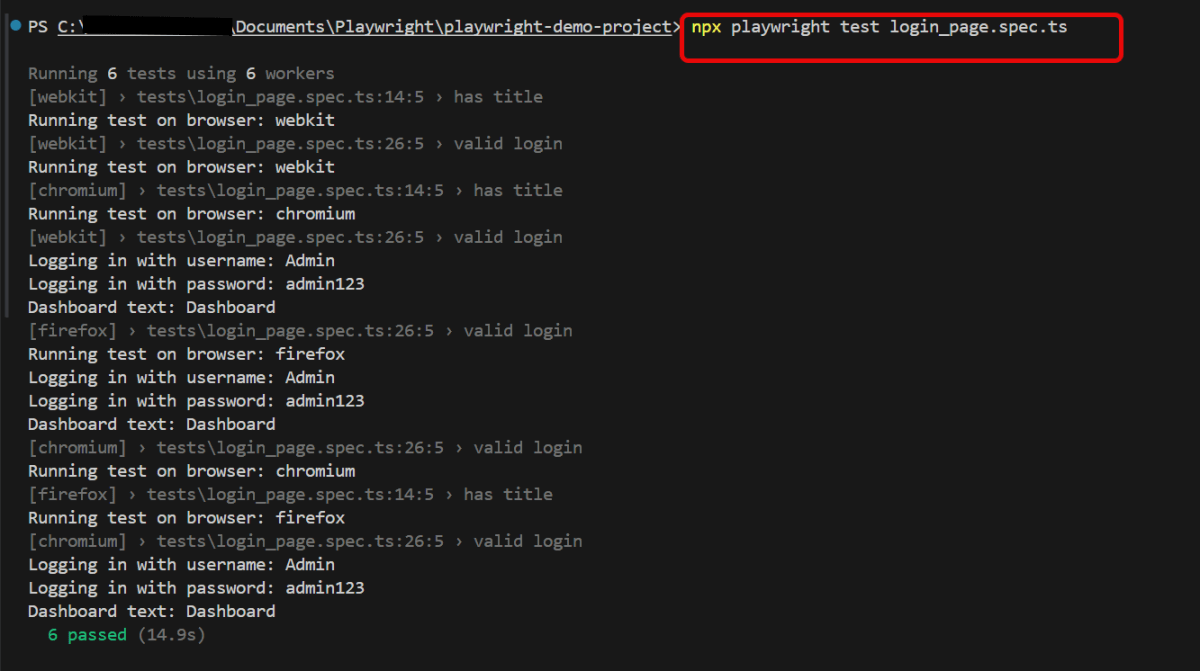
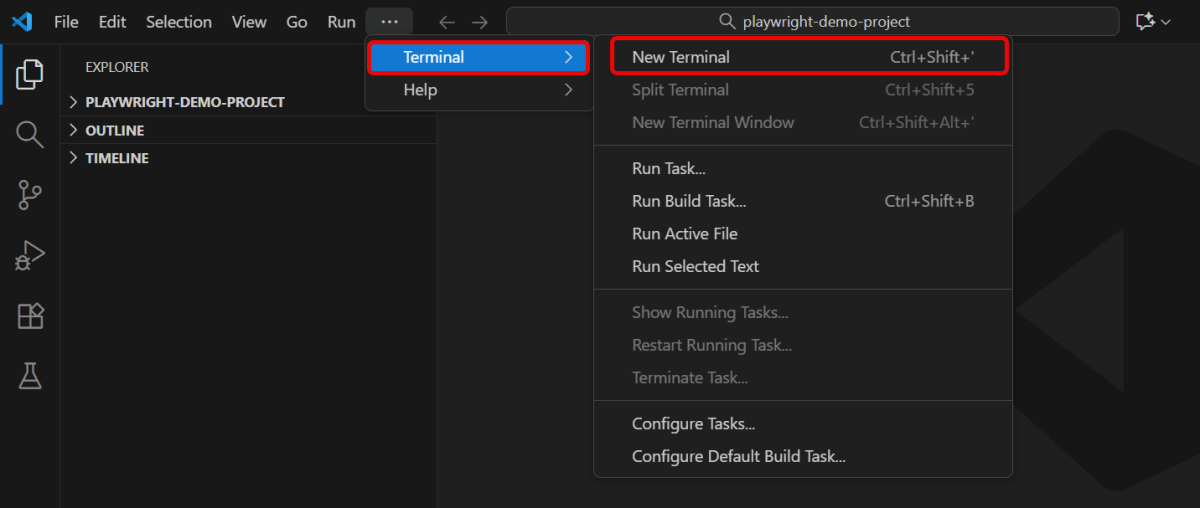
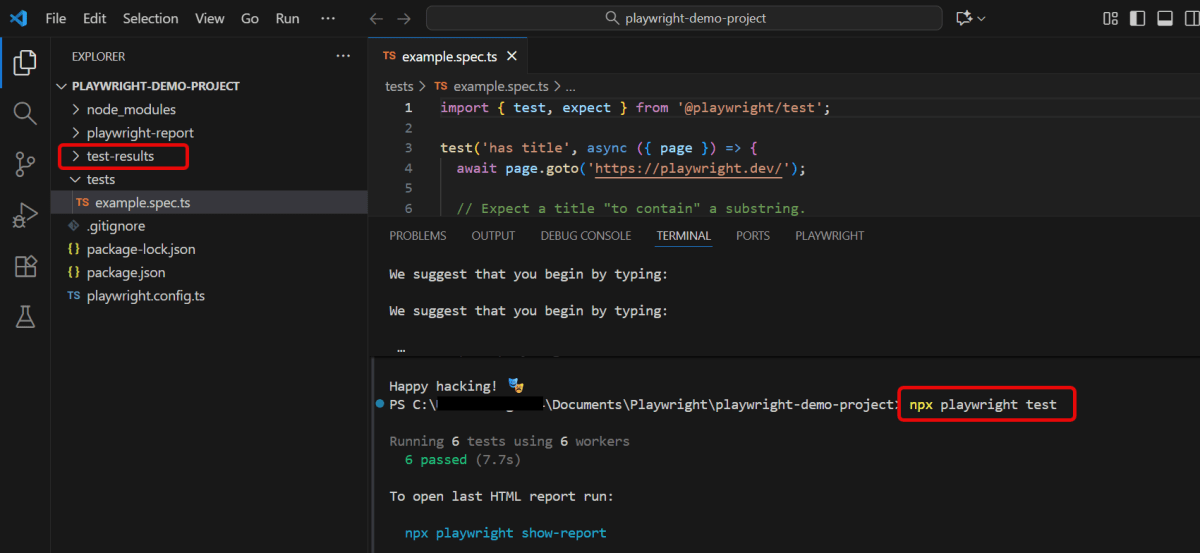
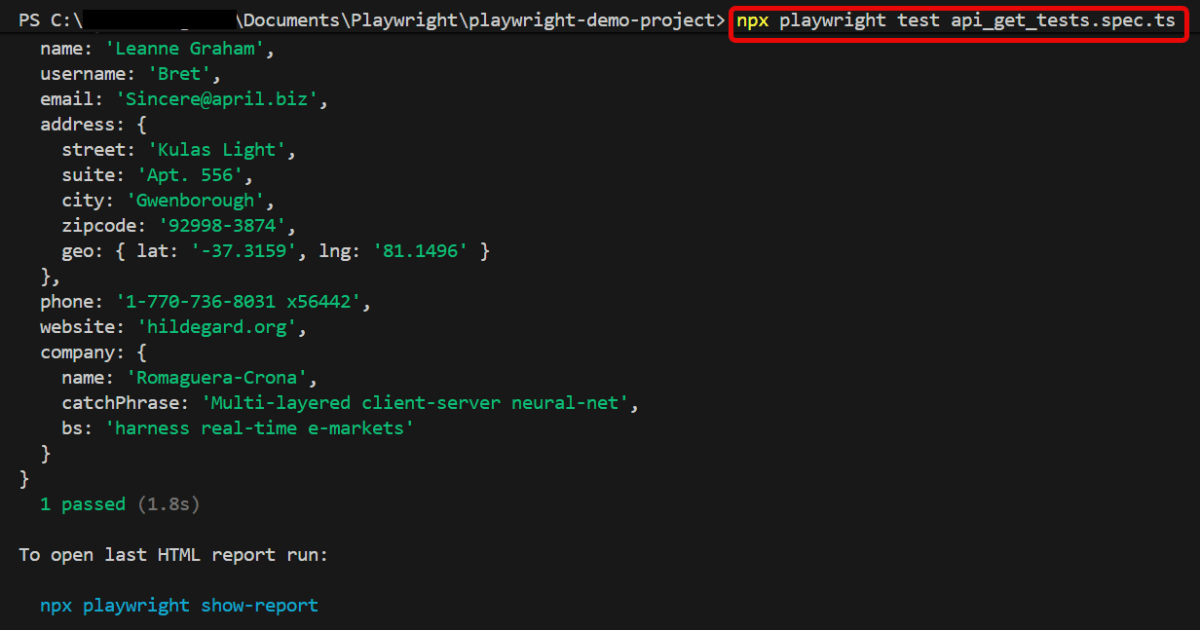
5. Execute the tests through Command Line
You can also run the tests through the command line. Go to the terminal and use the below command:-
npx playwright test api_get_tests.spec.ts
This command runs all the tests present in this file.
6. Evaluate Test Results
Analyze console outputs and assertions to validate the response data, ensuring that your API endpoints are functioning as designed.
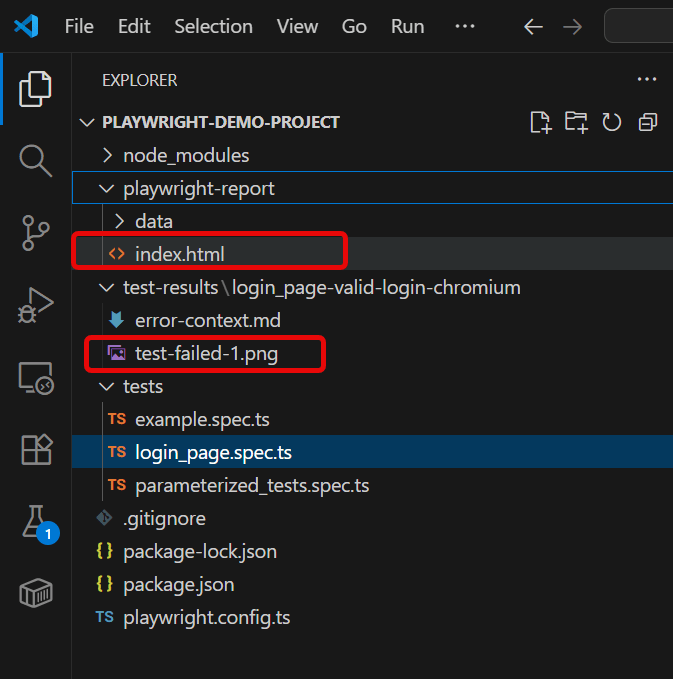
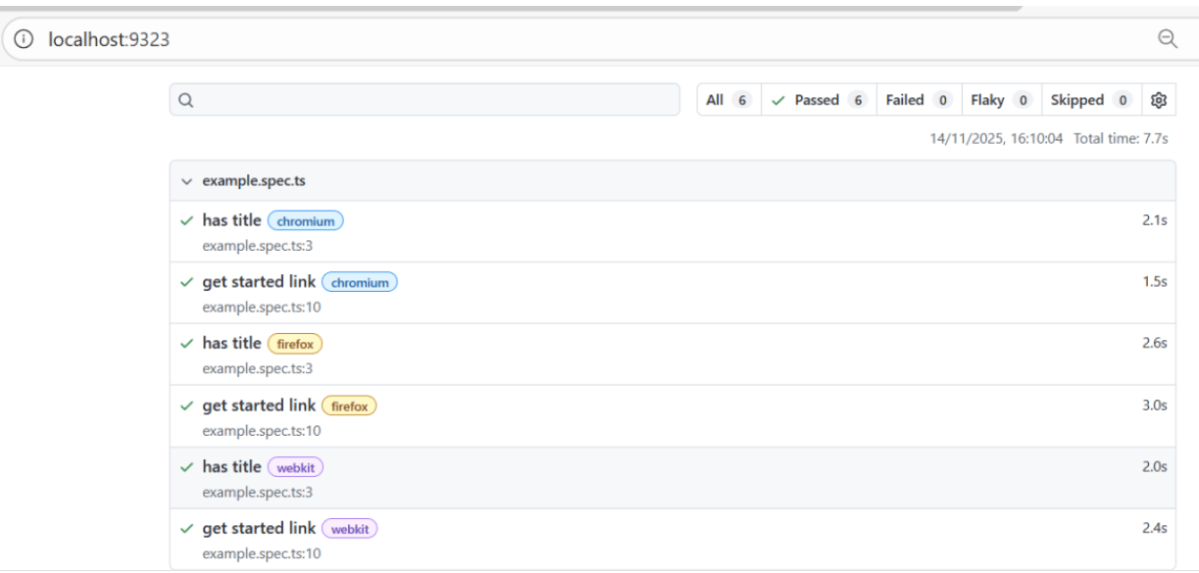
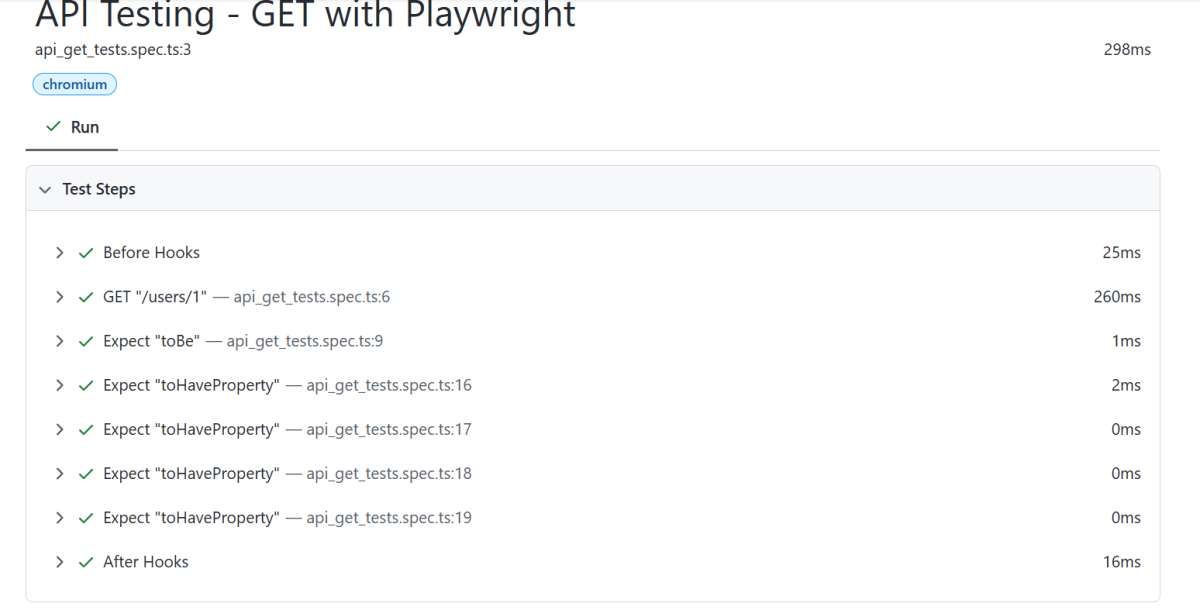
Playwright generates a test report after the execution of the tests. This test report can be viewed by using the below command:
npx playwright show-report
The output of the above command is

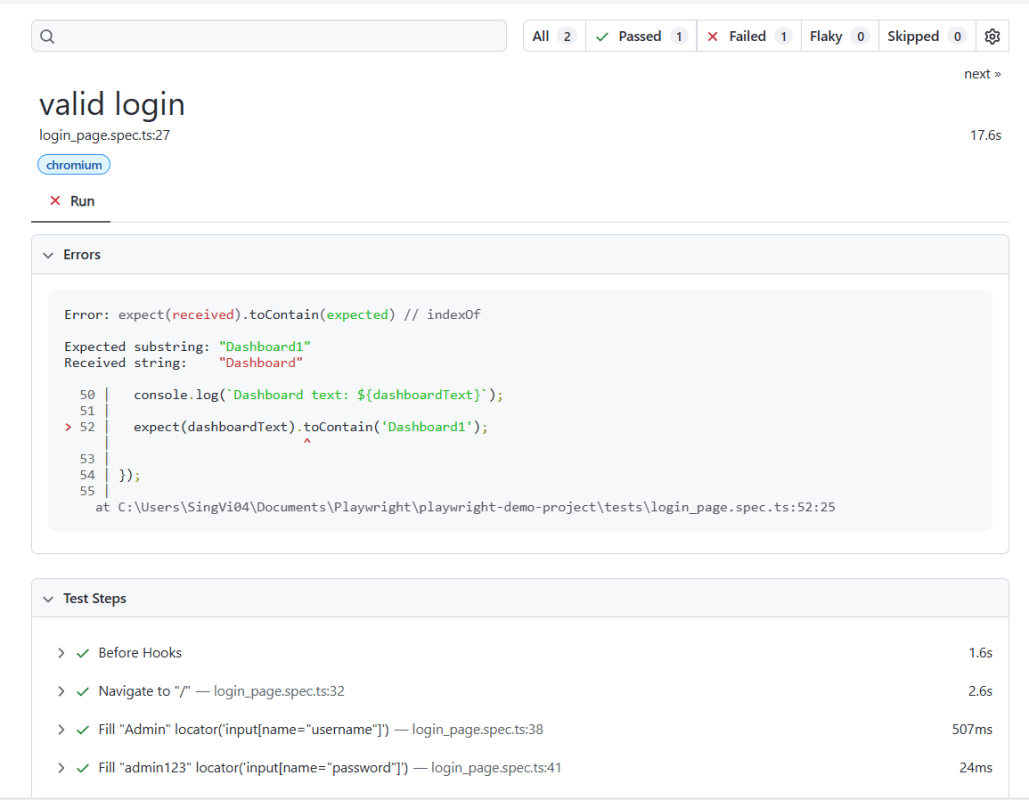
Below is the Test Report generated by Playwright.


To know more about Playwright UI mode, please refer to this website – https://playwright.dev/docs.