In this tutorial, I will explain the creation of JSON Object Payload with the help of POJO (Plain Old Java Object).
What is POJO?
POJO stands for Plain Old Java Object. It is a very simple object, and it has no bounds or we can say that it has no restrictions other than the Java language specification. Also, it does not require any classpath.
A big advantage of POJO is it increases the readability and reusability of our project code and developers find it easy when understanding the code. Also, POJO is easy to write and anyone can understand them easily.
Now let’s deep dive into some technical terms about the POJO. Below are a few points about the POJO are:
- A POJO should not have to extend prespecified classes.
- Secondly, a POJO should not have implemented any prespecified interface.
- Lastly, POJO should not contain prespecified annotations
A POJO class can follow some rules for better usability. These rules are:-
- Each variable should be declared as private just to restrict direct access.
- Each variable that needs to be accessed outside class may have a getter, a setter, or both methods. If the value of a field is stored after some calculations, then we must not have any setter method for that.
- It Should have a default public constructor.
- Can override toString(), hashcode, and equals() methods.
POJO classes are extensively used for creating JSON and XML payloads for API.
In the below example, let me create a simple JSON with some nodes which is actually a 1:1 mapping i.e. each key has a single value, and the type of values is mixed.
{
  "firstName" : "Vibha",
  "lastName" : "Singh",
  "age" : 30,
  "salary" : 75000.0,
  "designation" : "Manager",
  "contactNumber" : "+91999996712",
  "emailId" : "abc123@test.com"
}
Let us create variables in the POJO class now for the above JSON. Now, a class name Employee will be created with the private data members as mentioned in the above JSON. Since we have created all variables as private, then there should be a way to manipulate or retrieve these data. So we create the corresponding getter and setter methods for these data members.
It is very tedious to create getter and setter methods for all the data members for big JSON strings. Every IDE gives you a shortcut to generate getter and setter methods. Here, I am using Eclipse and creating these getter and setter methods.
Select all the data members and Right-click on the page. Then select Source and then select Generate Getter and Setter methods.

This opens a new screen as shown below.
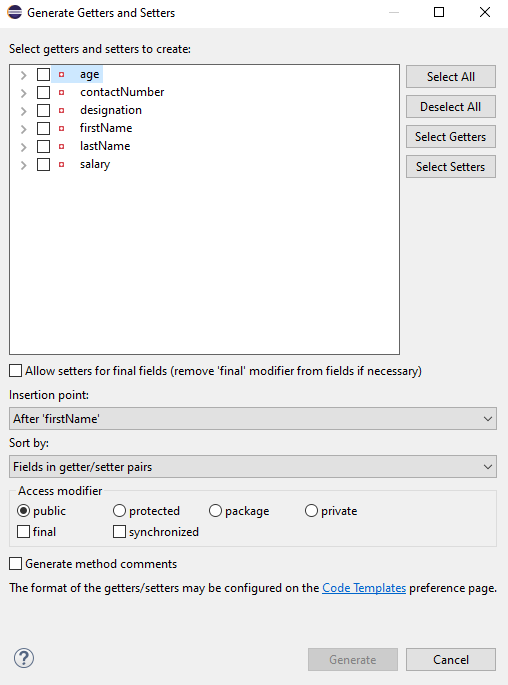
You can select the data member for which you want to create the getter and setter method. I want to create the getter and setter methods for all the data members, so click on Select All and then click on the Generate Button. This will generate the getter and setter methods for all the data members.
Below is the sample code of the Employee table, which contains the data members needed for Employee JSON and their corresponding getter and setter methods.
public class Employee {

	// private variables or data members of POJO class
	private String firstName;
	private String lastName;
	private int age;
	private double salary;
	private String designation;
	private String contactNumber;
	private String emailId;

	// Getter and setter methods
	public String getFirstName() {
		return firstName;
	}

	public void setFirstName(String firstName) {
		this.firstName = firstName;
	}

	public String getLastName() {
		return lastName;
	}

	public void setLastName(String lastName) {
		this.lastName = lastName;
	}

	public int getAge() {
		return age;
	}

	public void setAge(int age) {
		this.age = age;
	}

	public double getSalary() {
		return salary;
	}

	public void setSalary(double salary) {
		this.salary = salary;
	}

	public String getDesignation() {
		return designation;
	}

	public void setDesignation(String designation) {
		this.designation = designation;
	}

	public String getContactNumber() {
		return contactNumber;
	}

	public void setContactNumber(String contactNumber) {
		this.contactNumber = contactNumber;
	}

	public String getEmailId() {
		return emailId;
	}

	public void setEmailId(String emailId) {
		this.emailId = emailId;
	}

}
Using the above POJO class, you can create any number of custom Employee objects and each object can be converted into a JSON Object and Each JSON object can be parsed into Employee POJO.
We will create a JSON object from POJO and vice versa now, which is generally called serialization and deserialization using Jackson APIs.
Serialization – Serialization is a process where you convert an Instance of a Class (Object of a class) into a Byte Stream. Here, we are converting Employee class object to JSON representation or Object
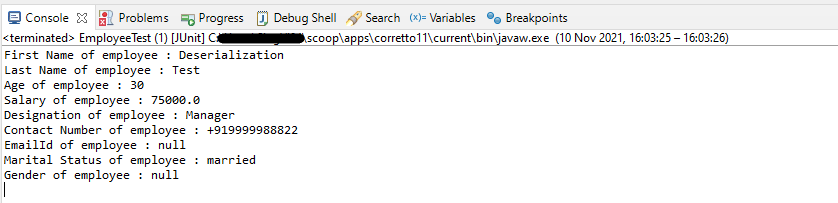
Deserialization – It is the reverse of serializing. In this process, we will read the Serialized byte stream from the file and convert it back into the Class instance representation. Here, we are converting a JSON Object to an Employee class object.
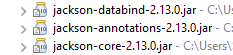
We are using Jackson API for Serialization and Deserialization. So, add the Jackson dependency to the project.
<dependency>
    <groupId>com.fasterxml.jackson.core</groupId>
    <artifactId>jackson-databind</artifactId>
    <version>2.13.0</version>
</dependency>
What is ObjectMapper ?
ObjectMapper provides functionality for reading and writing JSON, either to and from basic POJOs (Plain Old Java Objects), or to and from a general-purpose JSON Tree Model (JsonNode), as well as related functionality for performing conversions. It is also highly customizable to work both with different styles of JSON content and to support more advanced object concepts such as polymorphism and object identity.
Now, let us create a Test Class to show Serialization.
public class EmployeeTest {

	@Test
	public void serializationTest()  {

		Employee employee = new Employee();
		employee.setFirstName("Vibha");
		employee.setLastName("Singh");
		employee.setAge(30);
		employee.setSalary(75000);
		employee.setDesignation("Manager");

		// Converting a Java class object to a JSON payload as string
		ObjectMapper mapper = new ObjectMapper();
		String employeeJson = mapper.writeValueAsString(employee);
		String employeePrettyJson = mapper.writerWithDefaultPrettyPrinter().writeValueAsString(employee);
		System.out.println(employeeJson);
		System.out.println(employeePrettyJson);
   }
}try {
			String employeeJson = mapper.writeValueAsString(employee);
			System.out.println(employeeJson);
			String employeePrettyJson = mapper.writerWithDefaultPrettyPrinter().writeValueAsString(employee);
			System.out.println(employeePrettyJson);
		} catch (JsonProcessingException e) {
			e.printStackTrace();
		}
	}
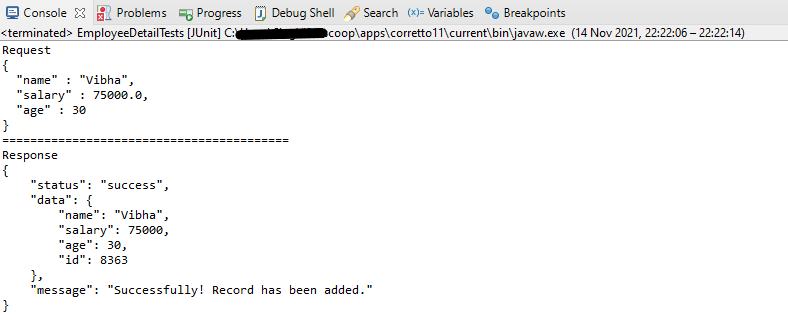
The output of the above program is

Here, ObjectMapper from fasterxml.jackson.databind is used for Serialization.
writeValueAsString() is a method that can be used to serialize any Java value as a String.
writerWithDefaultPrettyPrinter() is used to pretty-print the JSON output. It is a Factory method for constructing ObjectWriter that will serialize objects using the default pretty printer for indentation.
I hope this has helped to clear your doubts regarding POJO and how to create JSON objects using POJO.
We are done! Congratulations on making it through this tutorial and hope you found it useful! Happy Learning!!