Eclipse IDE is a software that allows you to write your programs and test scripts in multiple programming languages (with Java being the most popular one).
Download Eclipse IDE
1. Open the below mentioned link. Latest version of Eclipse available is Eclipse IDE 2024-09 R Packages Eclipse Download .
2. Select – Eclipse IDE for Java Developers. Depending on type of Operating System, download either 32 bit or 64 bit. My system is 64 bit, so downloading 64 bit Eclipse .

3. Click on the Download button to start downloading process.

Install/Setup Eclipse
1. We do not need to install Eclipse, just unzip the Eclipse downloaded folder. Go to the path where Eclipse downloaded and unzip the folder .
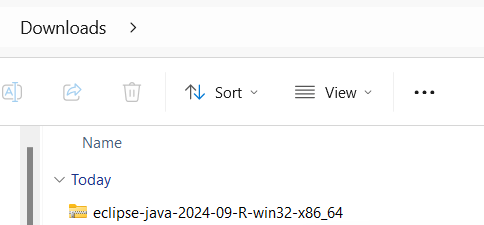
2. Eclipse folder have Eclipse Editor (Eclipse.exe), double click on it.

3. Eclipse Workplace directory will get open. You can provide name to this directory. In Eclipse, all the projects saved in Eclipse Directory
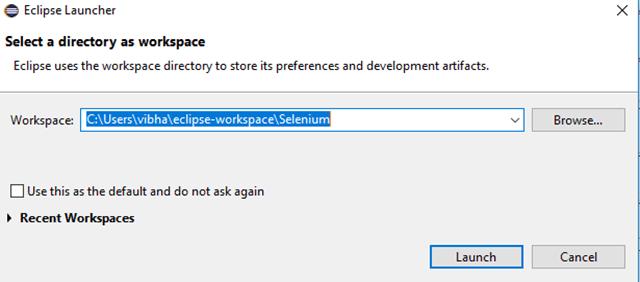
4. A folder with same Eclipse Directory name creates in same path as mentioned above.

5. Eclipse Workspace will open as shown below:

6. Click on the “Create a new Java project”. It will open an editor as shown below. We need to provide the Java Project name here as it is Java_Demo in this case. Click on the “Next” button.
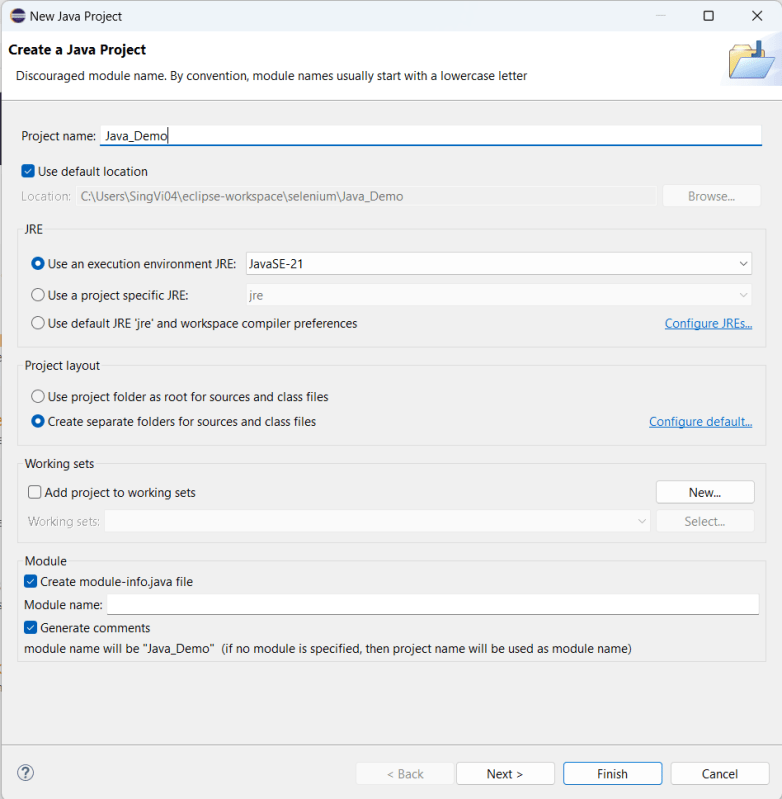
7. It will show the Java Settings as shown in the below image. Click on the “Finish” button.

Note: – There are chances that you may face the issue while trying to access Eclipse IDE – Java was started but returned exit code =13. This is because there is configuration mistake in Eclipse.ini (Eclipse Configuration) file. The error will look like something below:-
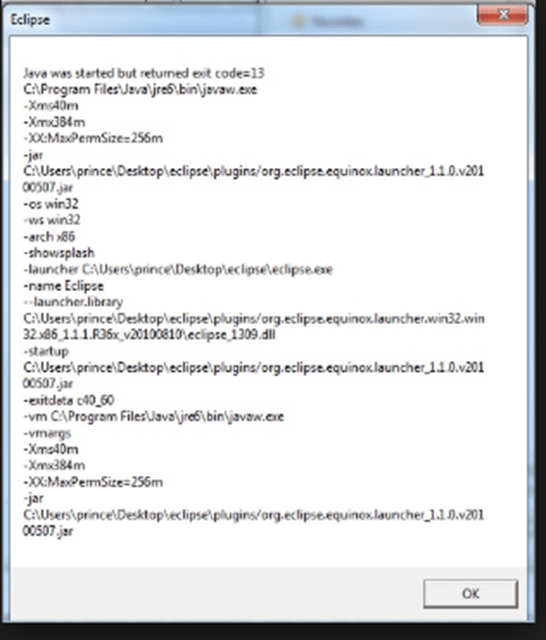
To fix this issue, open the Eclipse Configuration file. It will be present in unzipped Eclipse Folder.

Add the below mentioned line in Eclipse Configuration file:-
-vm
      C:\Program Files\Java\jre1.8.0_201\bin\java.exe

More details can found from below link
