Highlighting an element in Selenium can be useful for debugging purposes. It visually distinguishes the element being interacted with. This small addition can improve debugging, make demo videos clearer, and reduce false positives in your test results.
In Selenium Java, you can achieve this by using JavaScript. You can alter the element’s style, such as adding a border around it.
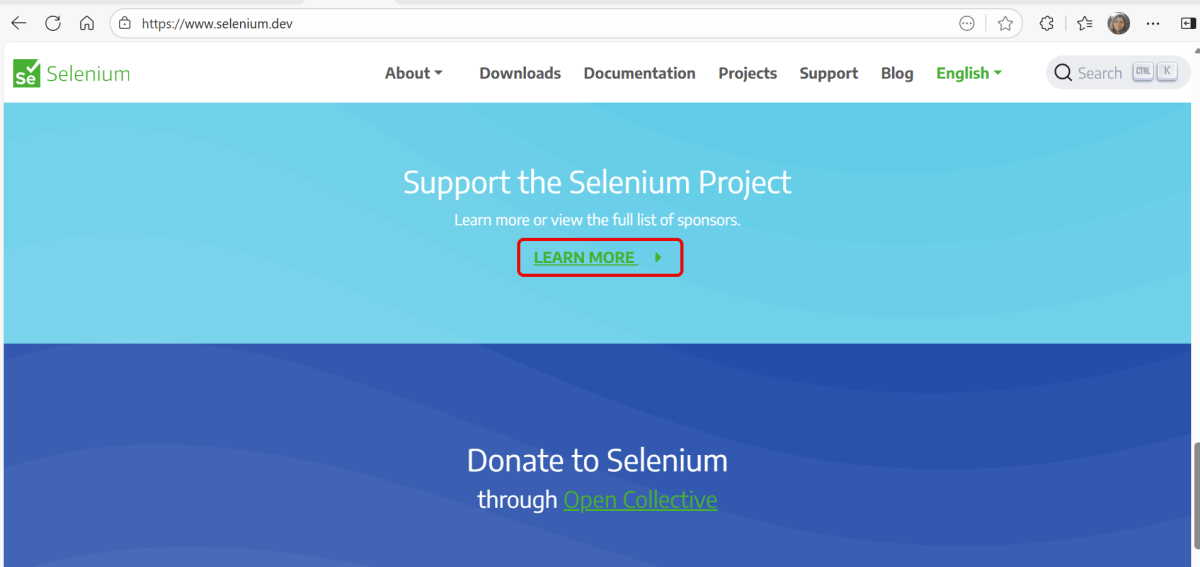
In the below example, we want to highlight the text – English.
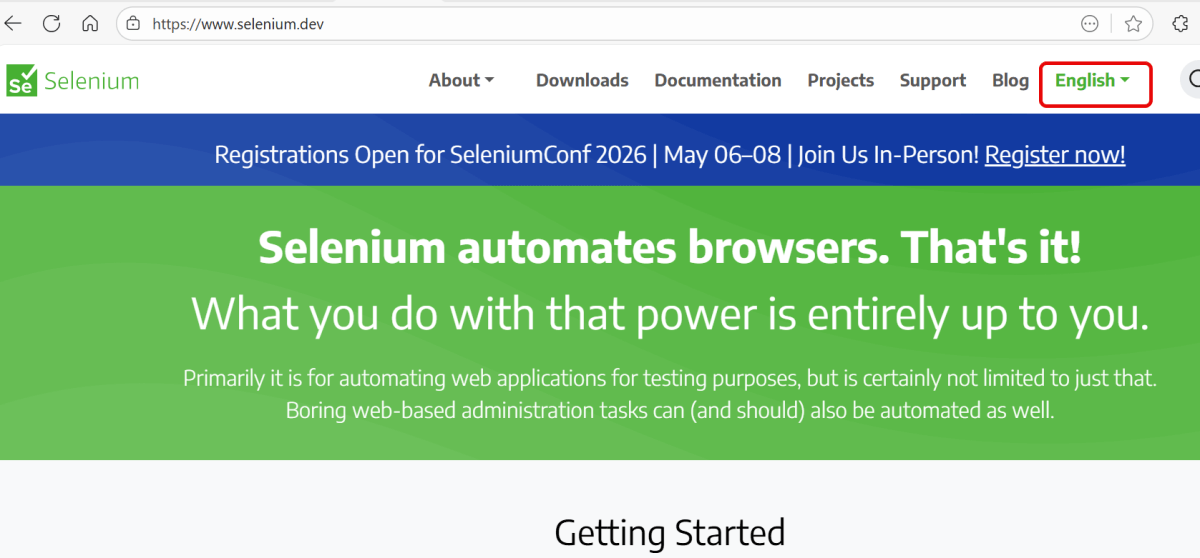
Below is the Selenium program that will highlight the text.
package Web;

import org.openqa.selenium.By;
import org.openqa.selenium.JavascriptExecutor;
import org.openqa.selenium.WebDriver;
import org.openqa.selenium.WebElement;
import org.openqa.selenium.chrome.ChromeDriver;
import org.openqa.selenium.chrome.ChromeOptions;

import java.time.Duration;

public class HighlightText_Example {

    public static void main(String args[]) {

        ChromeOptions chromeOptions = new ChromeOptions();
        WebDriver driver = new ChromeDriver(chromeOptions);
        driver.manage().timeouts().implicitlyWait(Duration.ofSeconds(10));
        driver.manage().window().maximize();

        try {
            driver.get("https://www.selenium.dev/");

            // identify the element
            WebElement element = driver.findElement(By.xpath("//*[@id='main_navbar']/ul/li[7]/div/a"));

            // Optionally, we wait to observe the element before changing the color
            Thread.sleep(1000);

            // Set the background color to yellow and the border to red
            JavascriptExecutor js = (JavascriptExecutor) driver;
            js.executeScript("arguments[0].style.backgroundColor = 'yellow'; arguments[0].style.border = '3px solid red';", element);

            // Optionally, we can wait to observe the highlight effect
            Thread.sleep(2000);
            System.out.println("Text is highlighted");

        } catch (InterruptedException e) {
            e.printStackTrace();
        } finally{
            // Closing browser
            driver.quit();
        }
    }
}
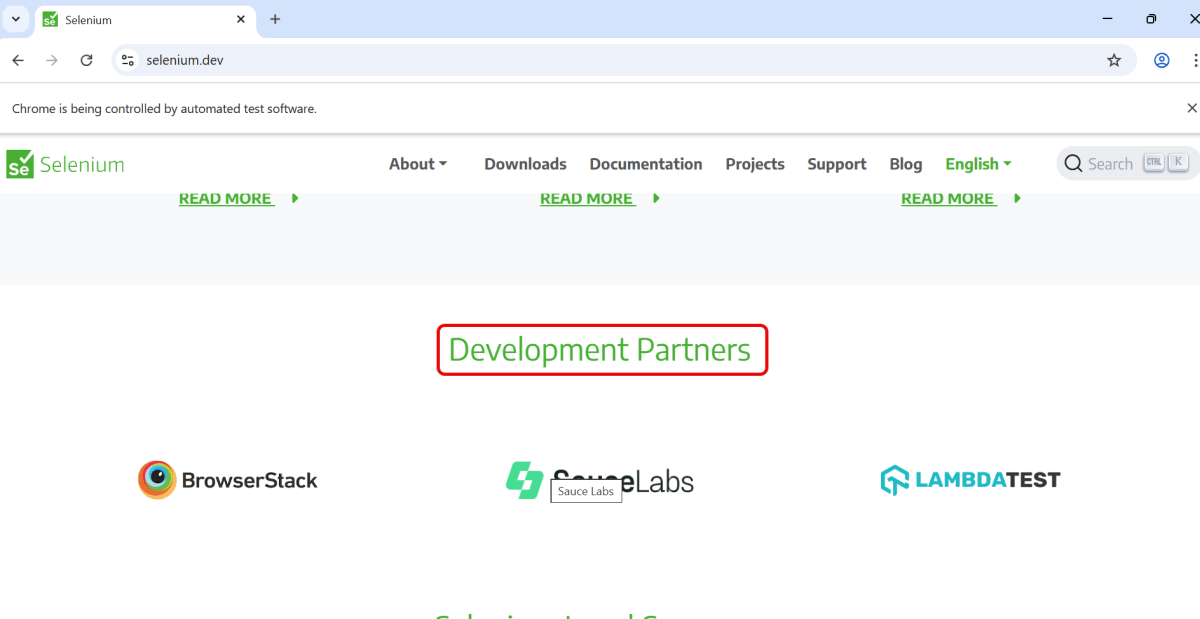
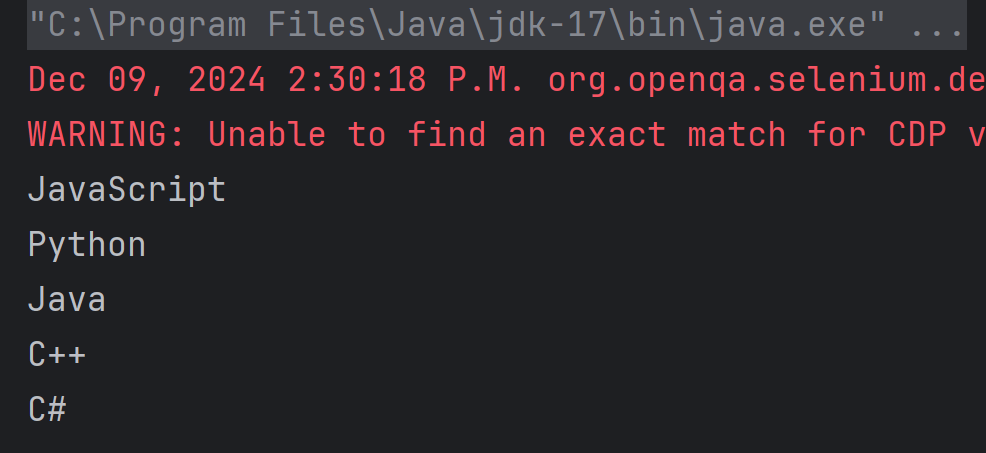
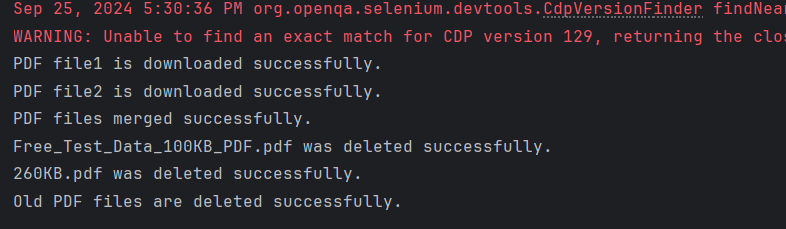
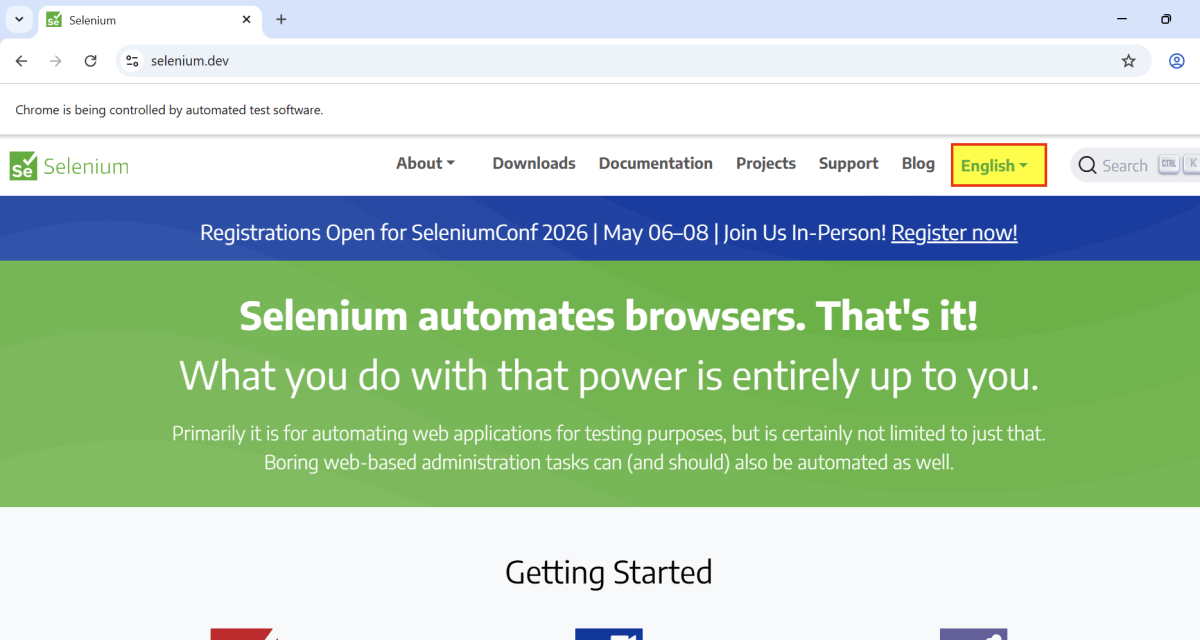
The output of the above program is

Below is the image of yellow highlighted background with red border.
Explanation:
1. Set Up Chrome Options and WebDriver
ChromeOptions is created. A ChromeDriver object driver is created to control the Chrome browser. implicitlyWait is set to 10 seconds to wait for elements to be present before throwing an exception. The browser window is maximized for better visibility during the test.
ChromeOptions chromeOptions = new ChromeOptions();
WebDriver driver = new ChromeDriver(chromeOptions);
driver.manage().timeouts().implicitlyWait(Duration.ofSeconds(10));
driver.manage().window().maximize();
2. Navigate to a Webpage
The get() method of driver is used to navigate to the specified URL.
driver.get("https://www.selenium.dev/");
3. Find Element
An element is located using an XPath expression.
WebElement element = driver.findElement(By.xpath("//*[@id='main_navbar']/ul/li[7]/div/a"));
4. Execute JavaScript
Use the JavaScriptExecutor to apply styling to the element. This can include adding a border or changing the background color temporarily.
  // Set the background color to yellow and the border to red
 JavascriptExecutor js = (JavascriptExecutor) driver;
js.executeScript("arguments[0].style.backgroundColor = 'yellow'; arguments[0].style.border = '3px solid red';", element);
5. Pause for visualization
This is an optional step. We have added it so that the user can see the color change.
Thread.sleep(2000);
6. Clean Up
The finally block ensures that the browser is closed irrespective of whether the test passes or fails, using driver.quit() to close all browser windows and end the session.
// Close the browser
driver.quit();
Summary:
1. Initialize a WebDriver and direct it to interact with your target webpage.
2. Identify the desired web element using suitable locators.
3. By using arguments[0].style.border=’3px solid red’, you can add a red border around the element, effectively highlighting it.
That’s it! Congratulations on making it through this tutorial and hope you found it useful! Happy Learning!!