In this tutorial blog, we will learn to create and set up the project using Playwright Java with TestNG.
Table of Contents
System requirements
The following prerequisites are required to be installed on the machine to begin with a smooth setup and installation.
- Java 8 or higher
- IntelliJ IDE or any other IDE to create a project
- Maven
- Browsers on which tests need to be run, like Chrome, Firefox, etc.
Implementation Steps
1. Create a new Maven Project
The first step in setup is to create a new Maven project. I will be using IntelliJ in this tutorial. The following steps need to be followed to create a new Maven project :
Open IntelliJ, Navigate to File >> New >> Project

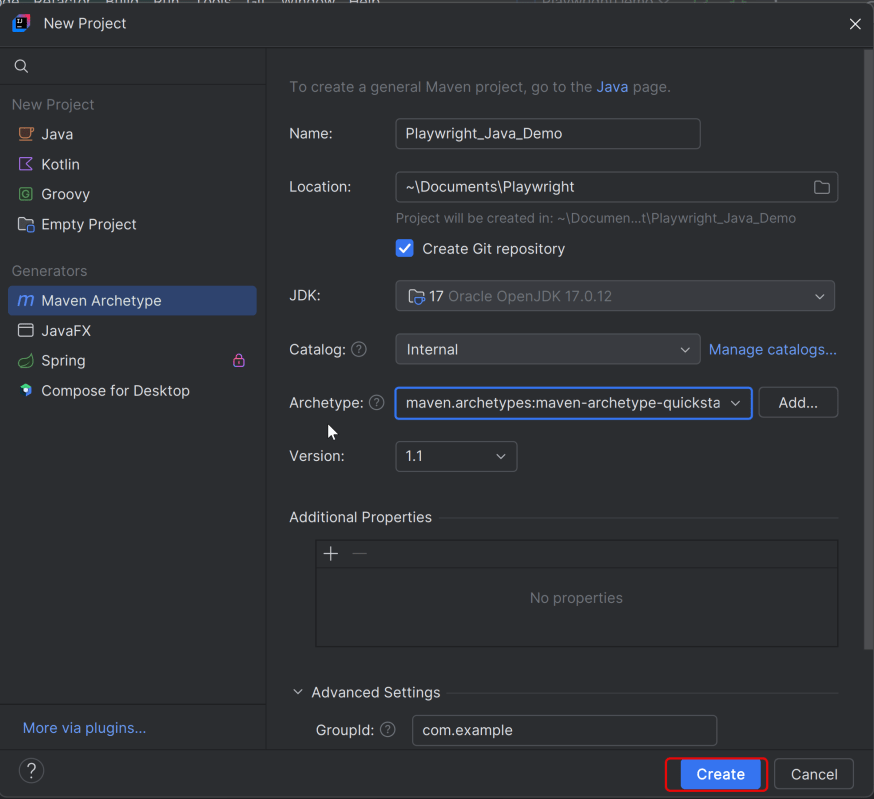
2. In the New Project window, enter the following details:
- Name of the Project – Playwright_TestNG_Demo
- Location/path where the project needs to be saved – Documents/Playwright (my location)
- Select JDK version — I am using JDK 17
- Archetype — Search for “quickstart” and select maven-archetype-quickstart from the results
Click on the Create button to create the project.

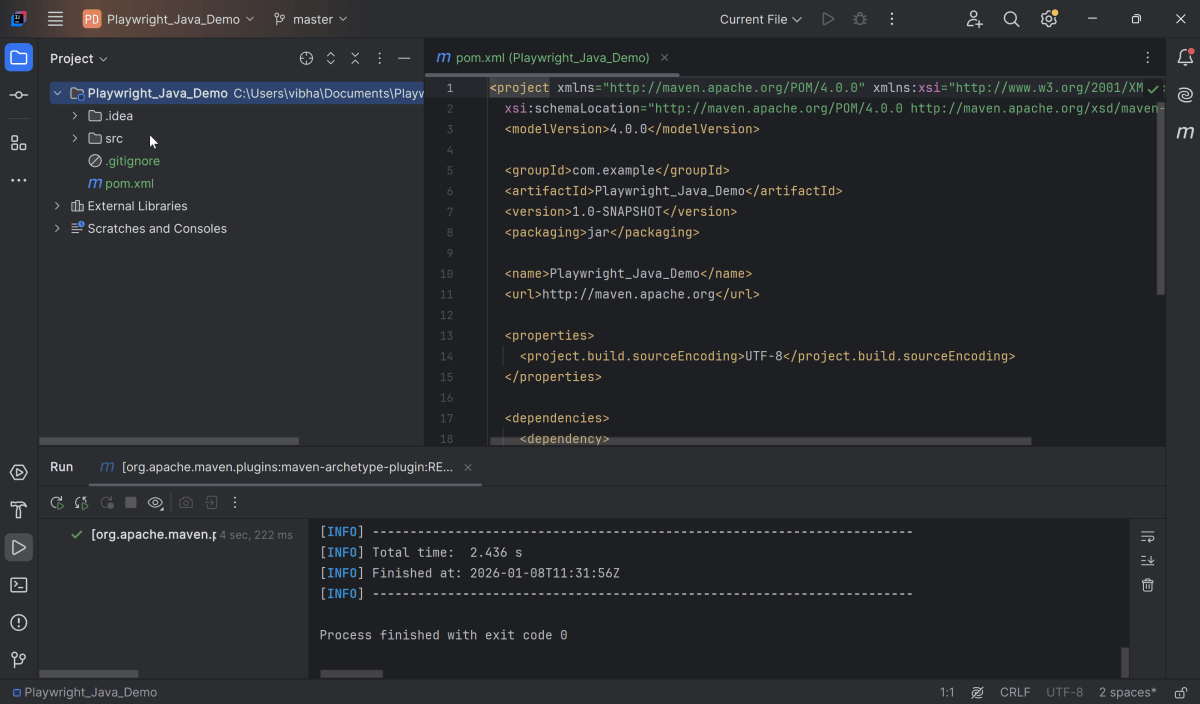
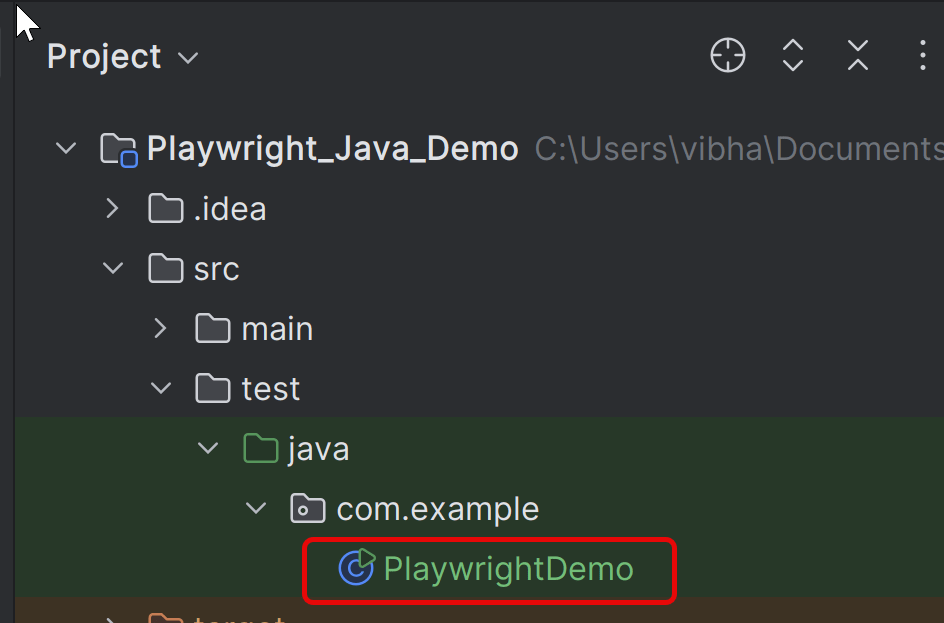
This will create a project as shown below in the IntelliJ.
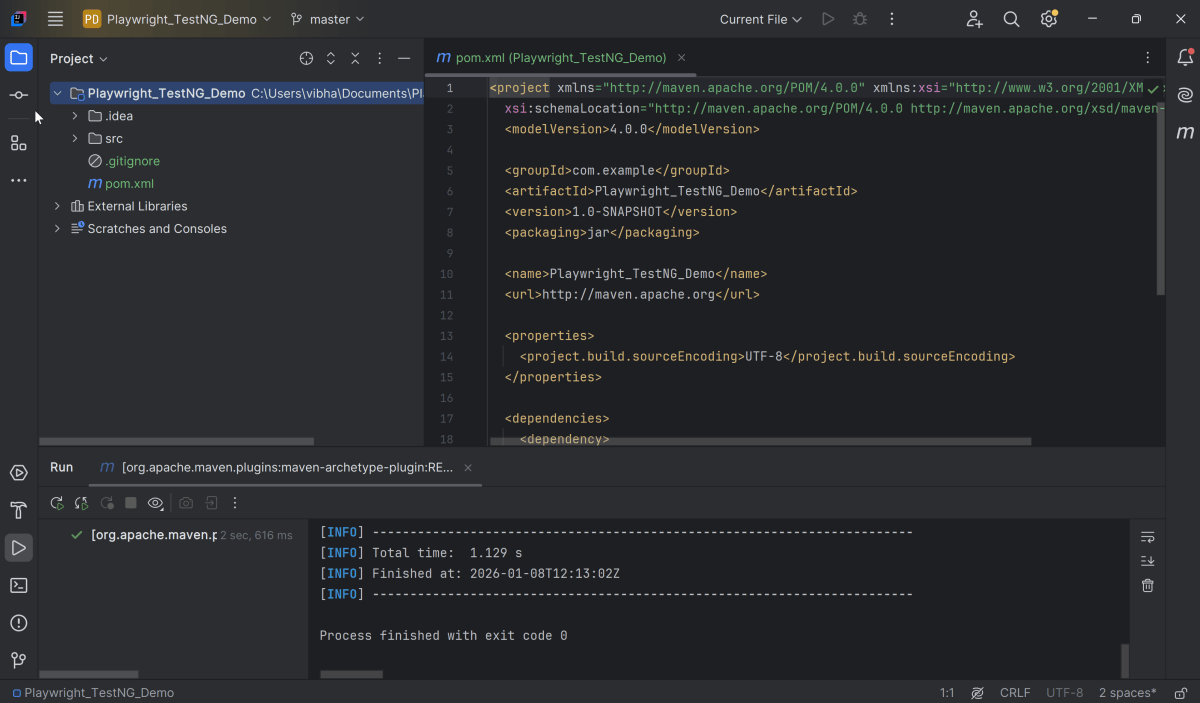
2. Update the Dependencies
Add the Playwright and TestNG dependencies to the pom.xml. The latest dependency can be found from here.
<project xmlns="http://maven.apache.org/POM/4.0.0" xmlns:xsi="http://www.w3.org/2001/XMLSchema-instance"
  xsi:schemaLocation="http://maven.apache.org/POM/4.0.0 http://maven.apache.org/xsd/maven-4.0.0.xsd">
  <modelVersion>4.0.0</modelVersion>

  <groupId>com.example</groupId>
  <artifactId>Playwright_TestNG_Demo</artifactId>
  <version>1.0-SNAPSHOT</version>
  <packaging>jar</packaging>

  <name>Playwright_TestNG_Demo</name>
  <url>http://maven.apache.org</url>

  <properties>
    <project.build.sourceEncoding>UTF-8</project.build.sourceEncoding>
    <playwright.version>1.57.0</playwright.version>
    <testng.version>7.11.0</testng.version>
    <maven.compiler.plugin.version>3.13.0</maven.compiler.plugin.version>
    <maven.compiler.source.version>17</maven.compiler.source.version>
    <maven.compiler.target.version>17</maven.compiler.target.version>
    <maven.surefire.plugin.version>3.5.4</maven.surefire.plugin.version>
  </properties>

  <dependencies>

    <dependency>
      <groupId>com.microsoft.playwright</groupId>
      <artifactId>playwright</artifactId>
      <version>${playwright.version}</version>
    </dependency>

    <dependency>
      <groupId>org.testng</groupId>
      <artifactId>testng</artifactId>
      <version>${testng.version}</version>
      <scope>test</scope>
    </dependency>
  </dependencies>

  <build>
    <plugins>
      <plugin>
        <groupId>org.apache.maven.plugins</groupId>
        <artifactId>maven-compiler-plugin</artifactId>
        <version>${maven.compiler.plugin.version}</version>
        <configuration>
          <source>${maven.compiler.source.version}</source>
          <target>${maven.compiler.target.version}</target>
        </configuration>
      </plugin>
      <plugin>
        <groupId>org.apache.maven.plugins</groupId>
        <artifactId>maven-surefire-plugin</artifactId>
        <version>${maven.surefire.plugin.version}</version>
        <configuration>
          <suiteXmlFiles>
            <suiteXmlFile>testng.xml</suiteXmlFile>
          </suiteXmlFiles>
        </configuration>
      </plugin>
    </plugins>
  </build>
</project>
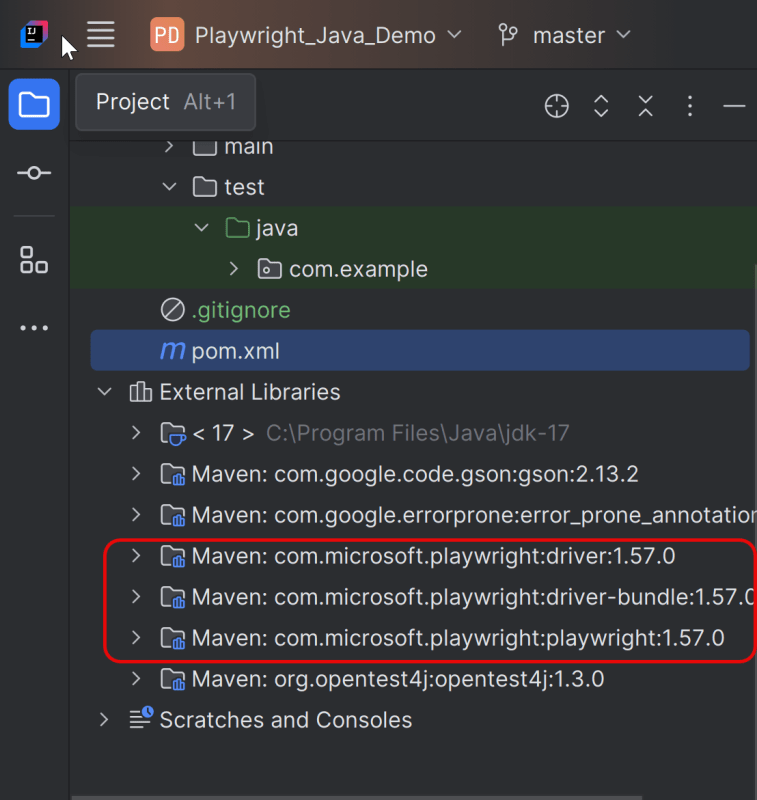
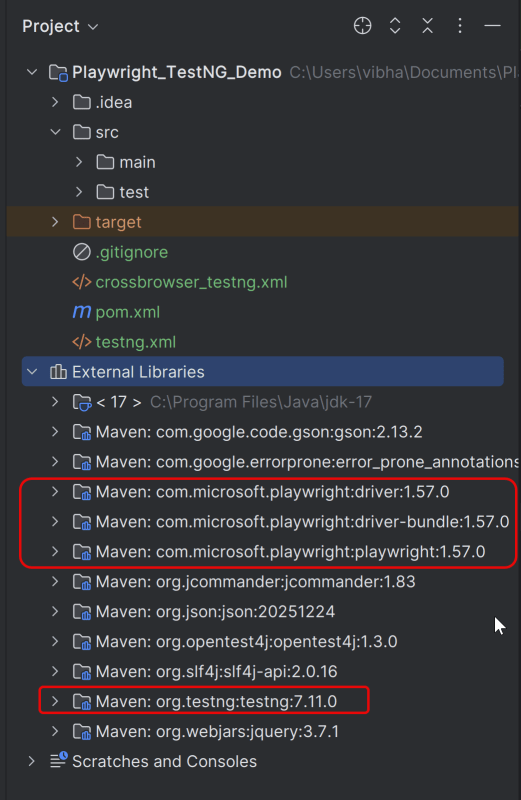
After adding the dependency, refresh the project. We will see that the Playwright and testng jar files are downloaded in External Libraries.
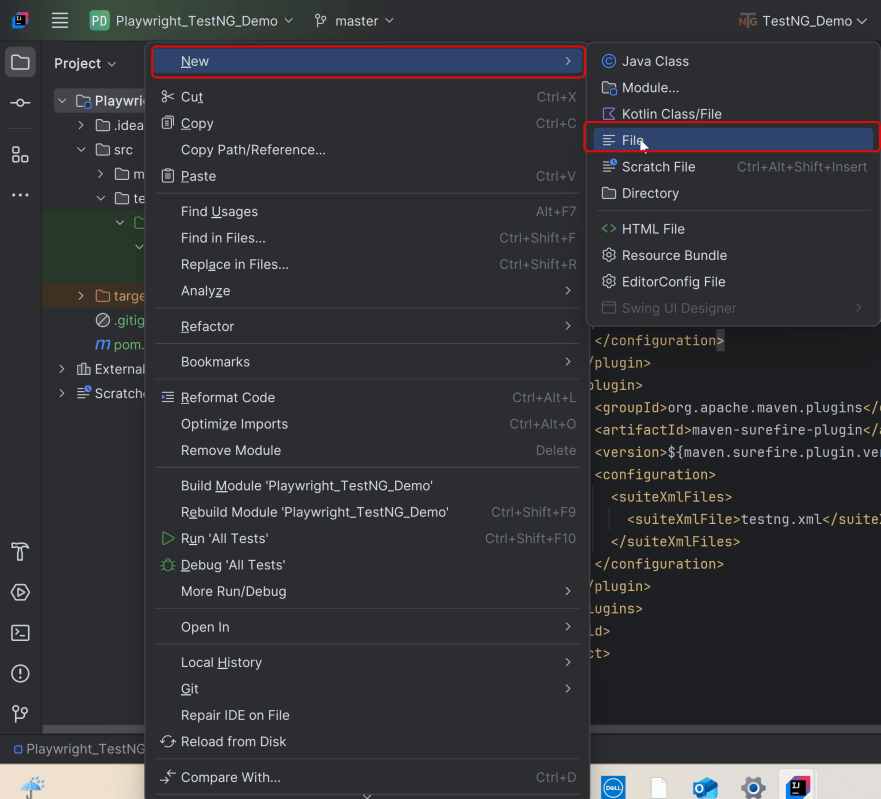
3. Create testng.xml
Let’s create a testng.xml file to run the test using TestNG.
Right click on the project, New >> File
It will help us execute the other tests by adding the test method name to the methods block in the file.
<?xml version="1.0" encoding="UTF-8"?>
<!DOCTYPE suite SYSTEM "http://testng.org/testng-1.0.dtd">
<suite name="Playwright test suite">
    <test name="Integration of Playwright Java with TestNG">
    <classes>
        <class name="com.example.TestNG_Demo_Tests">
        </class>
    </classes>
    </test>
</suite>
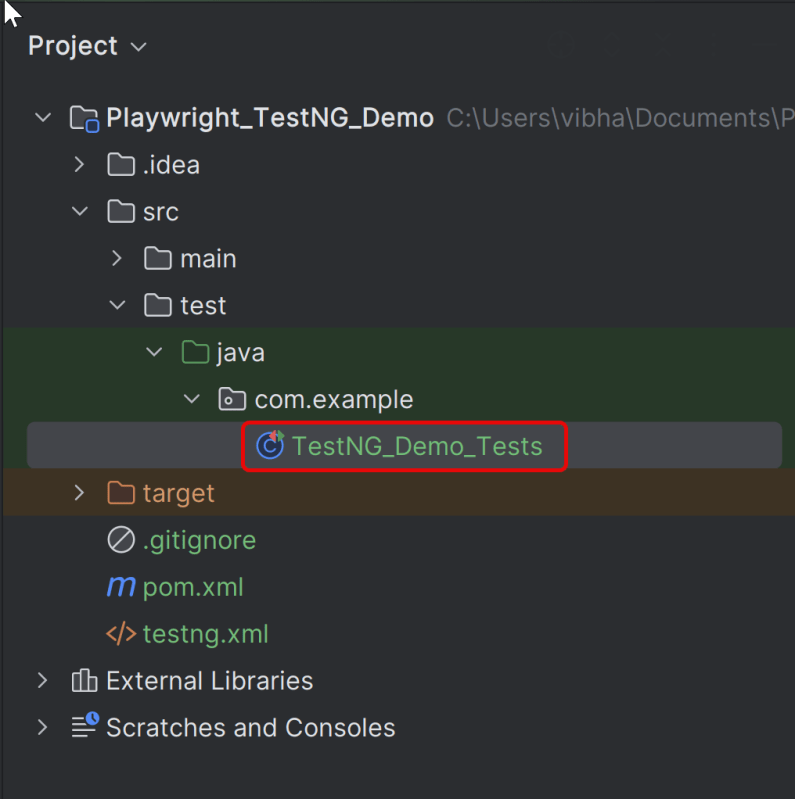
4. Write the tests
Create a Test file under src/test/java called – TestNG_Demo_Tests.
We will be automating the following test scenario using Playwright Java.
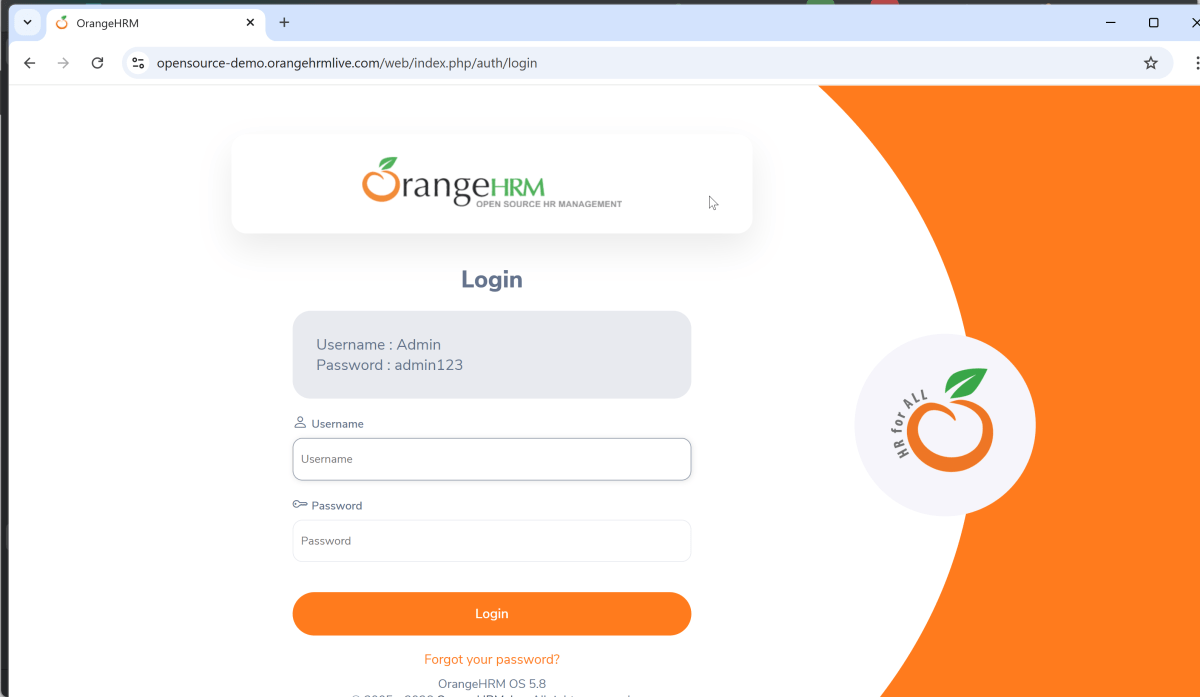
- Verify that the Home page title of “https://opensource-demo.orangehrmlive.com/web/index.php/auth/login” is equal to “OrangeHRM”
- Verify that the successful login leads to the Dashboard page
- Verify that the invalid username generates an error message “Invalid credentials”
Below is the sample code for the above scenario. The test is using Chromium browser.
package com.example;

import com.microsoft.playwright.*;
import org.testng.annotations.*;

import static org.testng.Assert.assertEquals;


public class TestNG_Demo_Tests {

    // Shared between all tests in this class.
    Playwright playwright;
    Browser browser;

    // New instance for each test method.
    BrowserContext context;
    Page page;

    @BeforeClass
    void launchBrowser() {
        playwright = Playwright.create();
        browser = playwright.chromium().launch();
    }

    @BeforeMethod
    void createContextAndPage() {
        context = browser.newContext();
        page = context.newPage();
        page.navigate("https://opensource-demo.orangehrmlive.com/web/index.php/auth/login");
    }

    @Test
    void verifyPageTitle() {
        System.out.println("Page Title :" + page.title());
        assertEquals("OrangeHRM", page.title());
    }

    @Test
    void verifyLogin() {
        page.locator("input[name='username']").fill("Admin");
        page.locator("input[name='password']").fill("admin123");
        page.locator("button[type='submit']").click();
        String expectedValue = page.locator("//h6[contains(@class, \"oxd-topbar-header-breadcrumb-module\")]").textContent();
        assertEquals(expectedValue,"Dashboard");
    }

    @Test
    void verifyInvalidCredentials() {
        page.locator("input[name='username']").fill("Playwright");
        page.locator("input[name='password']").fill("admin123");
        page.locator("button[type='submit']").click();
        String expectedValue = page.locator("//p[contains(@class, \"oxd-text oxd-text--p oxd-alert-content-text\")]").textContent();
        assertEquals(expectedValue,"Invalid credentials");
    }

    @AfterMethod
    void closeContext() {
        context.close();
    }

    @AfterClass
    void closeBrowser() {
        playwright.close();
    }
}
Explanation
1. Playwright playwright
Initialized to manage the browser automation session, allowing interactions with different browsers.
2. Browser browser
Declared to store the browser instance that will be shared across test methods within the class.
Playwright playwright;
Browser browser = null;
3. BrowserContext context
Created anew for each test method to simulate independent browser sessions. This ensures that the browser state doesn’t carry over between tests.
4. Page page
Represents a single tab or window in a browser used for performing actions and assertions.
BrowserContext context;
Page page;
5. @BeforeClass
This method is annotated with @BeforeClass, indicating it runs once before any test methods in the current class.
The browser is launched in Chromium and non-headless mode (setHeadless(false)), meaning an actual browser window is opened.
6. @BeforeMethod createContextAndPage()
This method runs before each test method in the class, as indicated by the @BeforeMethod annotation.
It creates a new BrowserContext and a Page, ensuring each test runs in a clean, isolated state.
The method also navigates to a login page (“https://opensource-demo.orangehrmlive.com/web/index.php/auth/login”), setting up the initial state for each test.
@BeforeMethod
void createContextAndPage() {
      context = browser.newContext();
      page = context.newPage();
      page.navigate("https://opensource-demo.orangehrmlive.com/web/index.php/auth/login");
}
7. verifyPageTitle method
This method is used to verify the heading of the application.
8. verifyLogin method
This method verifies that the application is successfully logged in using the correct credentials.
9. verifyInvalidCredentials method
This method asserts that an error message is generated when invalid username or password is entered in the login page.
10. @AfterMethod closeContext()
Runs after each test method, annotated with @AfterMethod.
Closes the BrowserContext, effectively closing the browser tab and cleaning up resources.
@AfterMethod
   void closeContext() {
       context.close();
}
11. @AfterClass closeBrowser()
Runs once after all test methods in the current class have executed, as indicated by the @AfterClass annotation.
Closes the Playwright instance, freeing up all resources used for automation.
@AfterClass
void closeBrowser() {
      playwright.close();
}
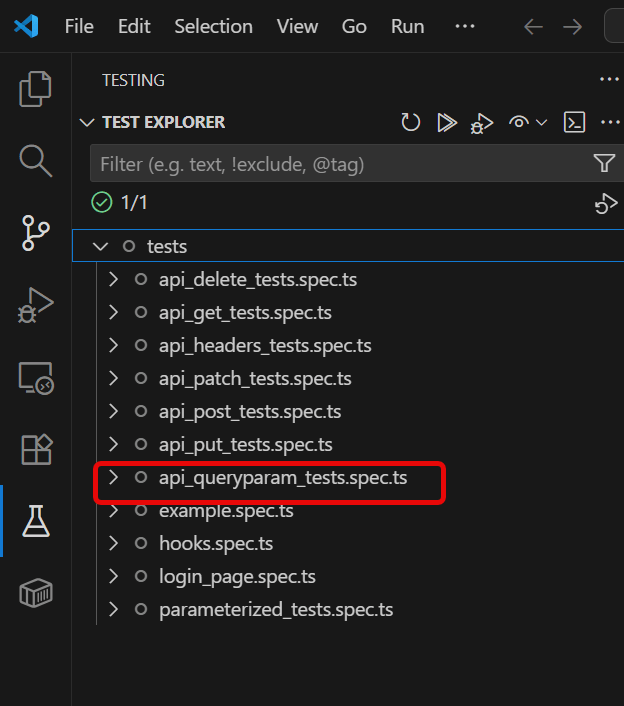
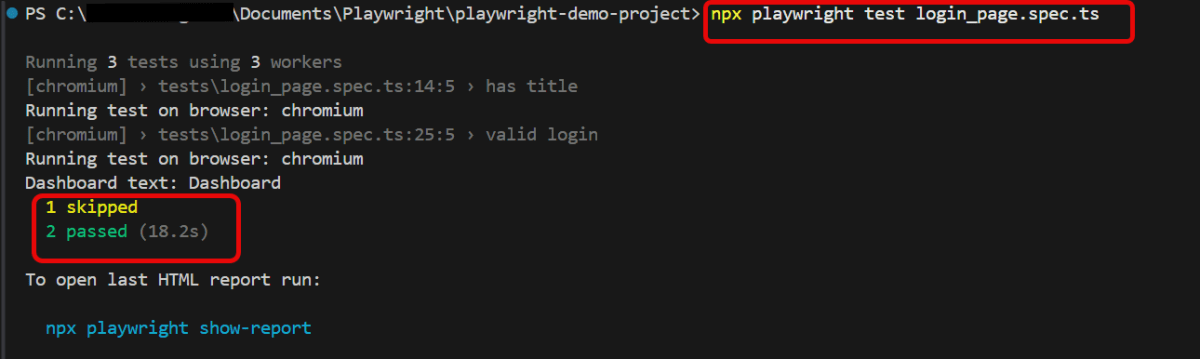
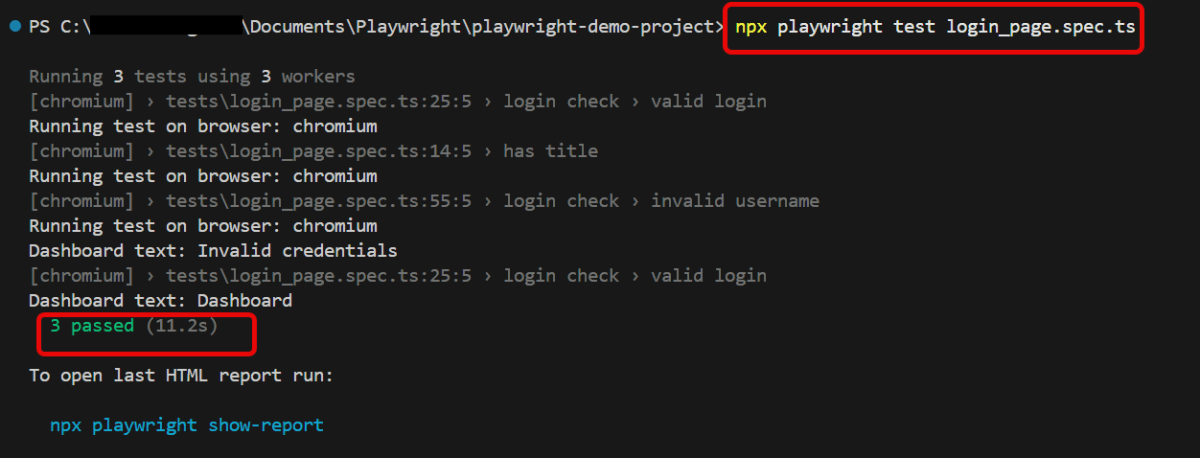
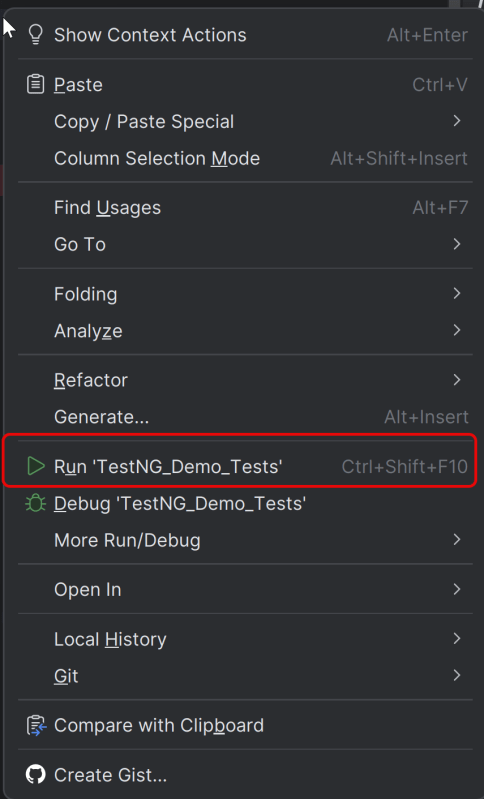
5. Test Execution through TestNG
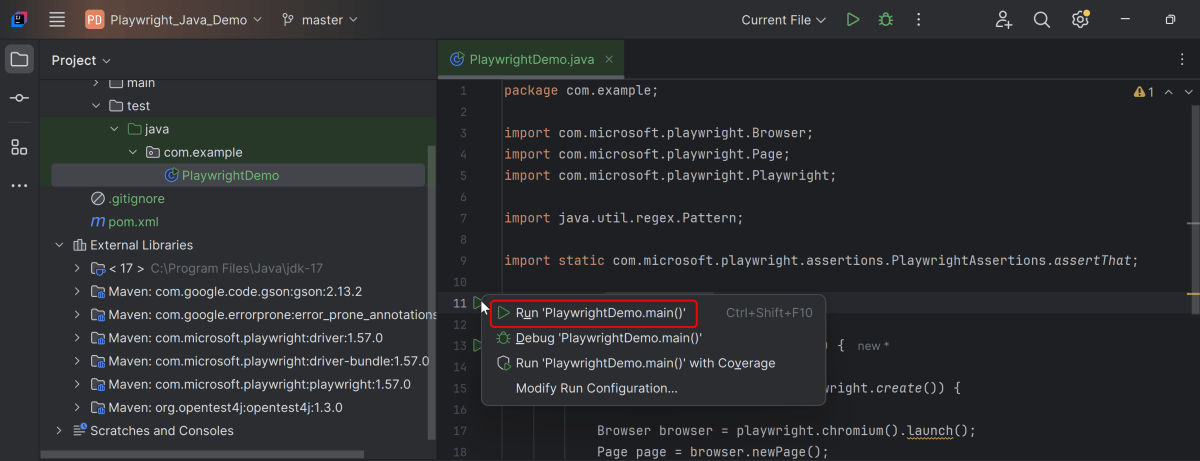
Go to the Test class and right-click and select Run ‘TestNG_Demo_Tests’. The tests will run as TestNG tests (in IntelliJ).
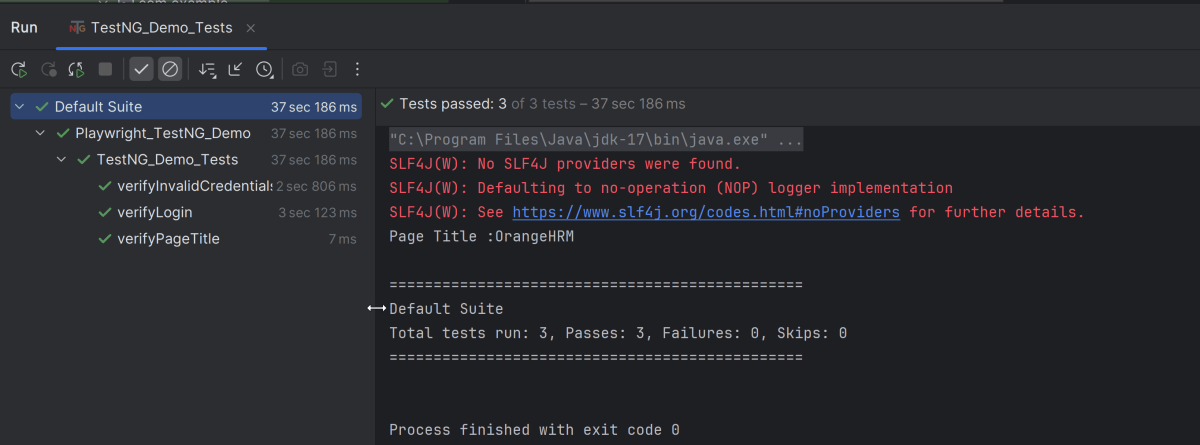
By default, the tests are run in headless mode, so the browser UI is not loaded.
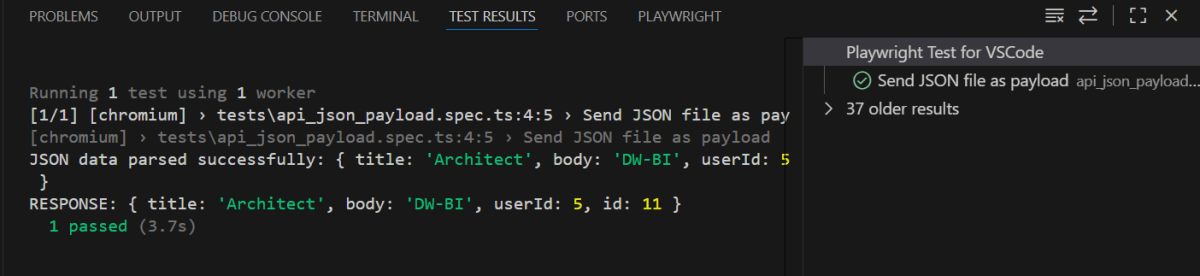
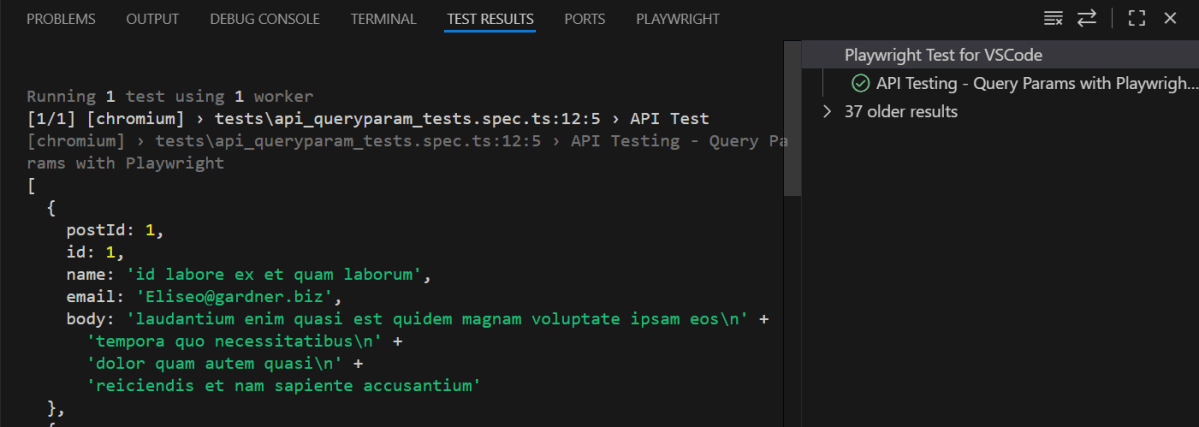
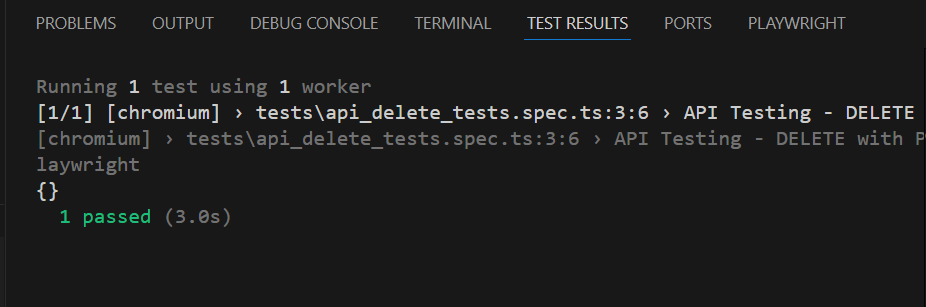
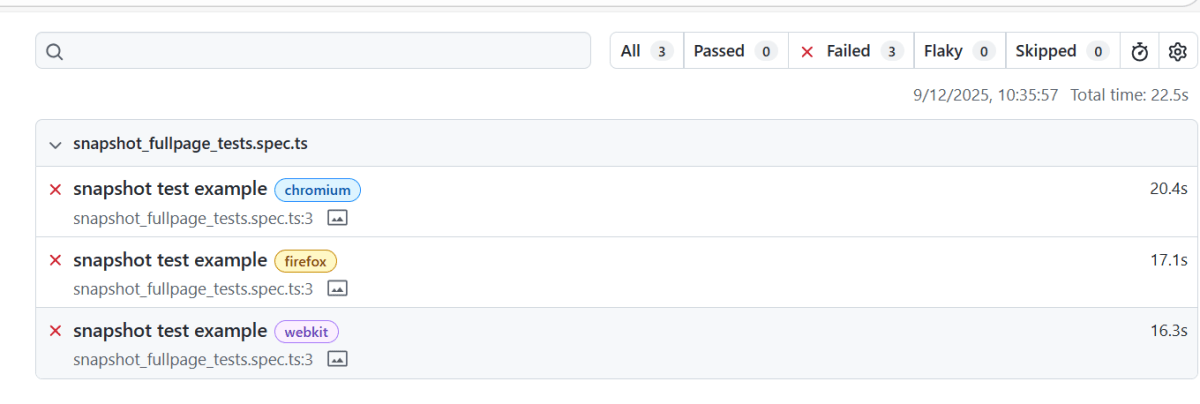
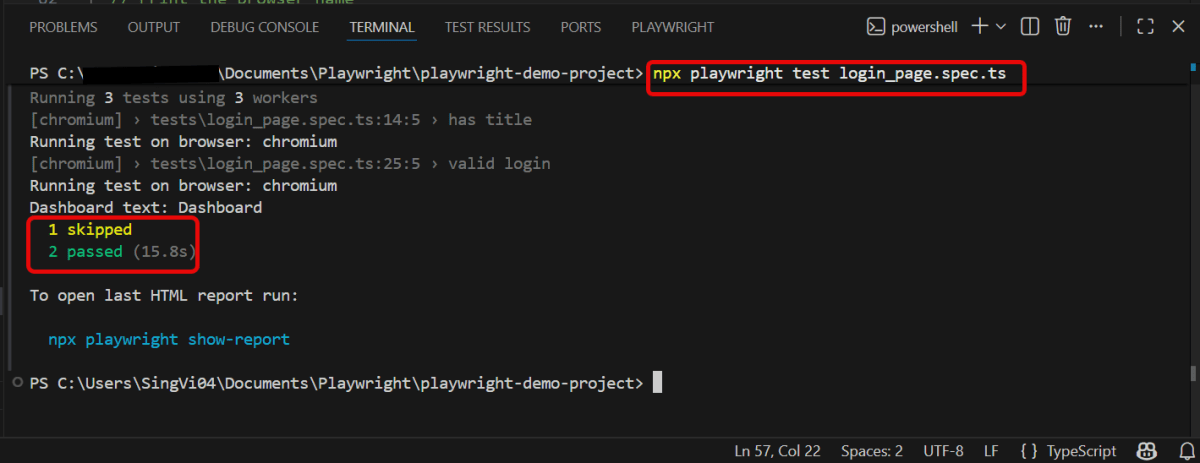
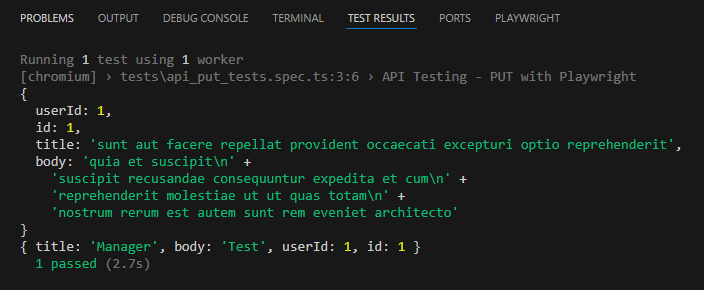
Below is the test execution result.
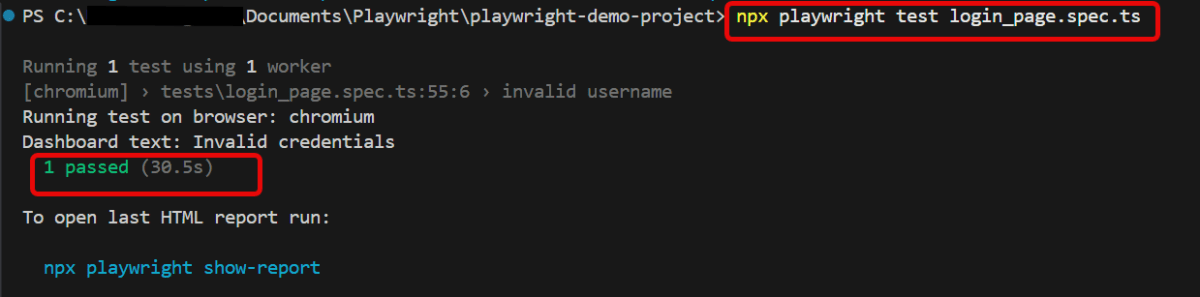
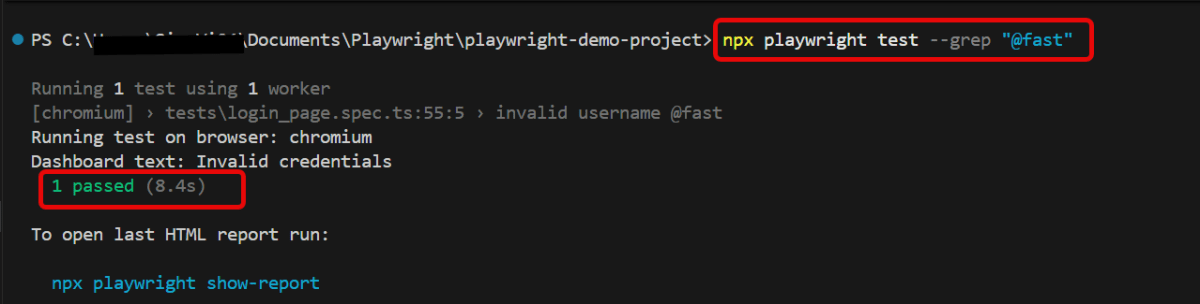
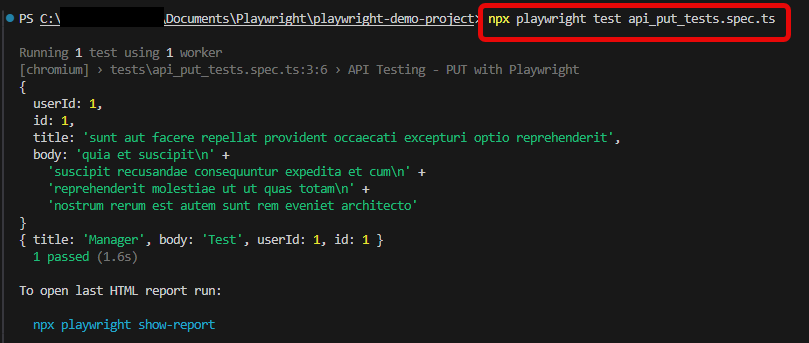
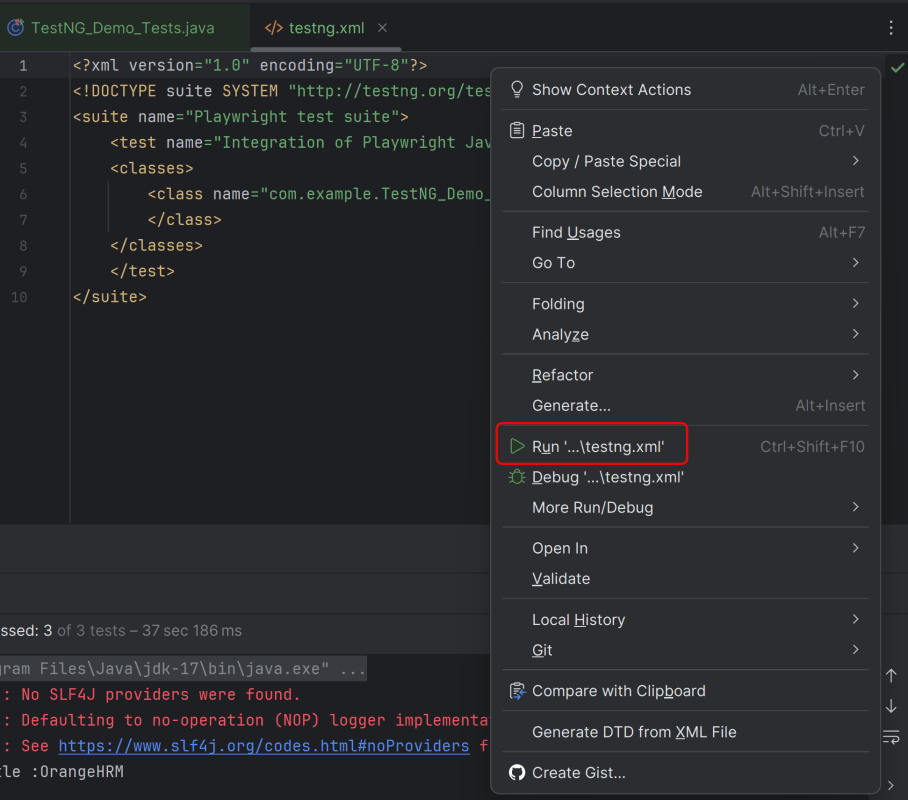
6. Run the tests from TestNG.xml
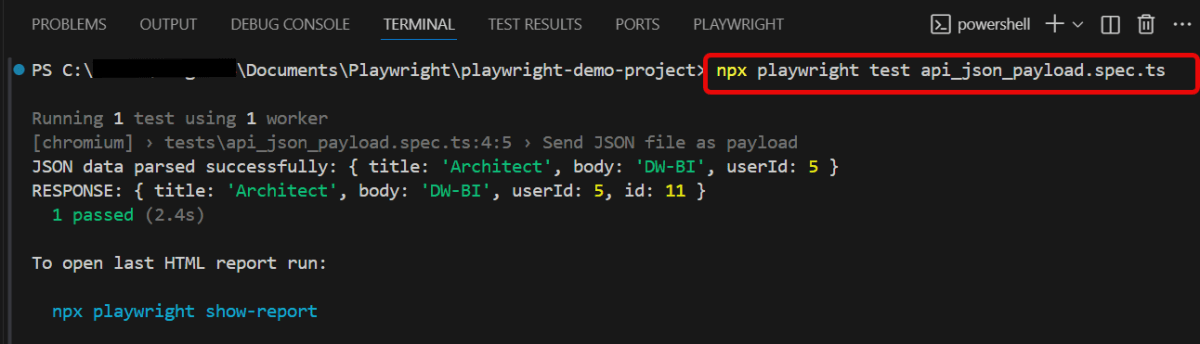
Execute the tests by right-clicking on testng.xml and select Run ‘…\testng.xml’
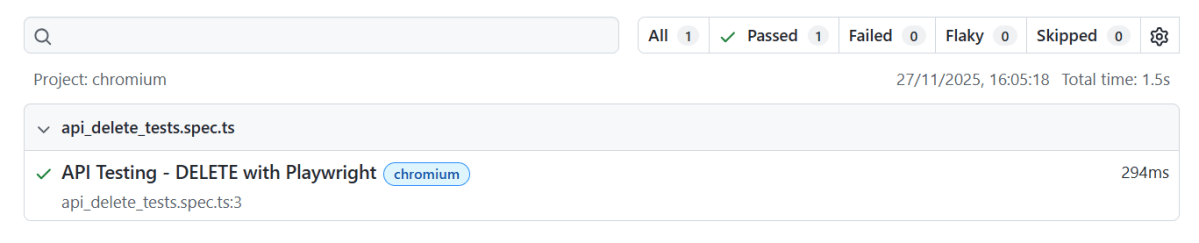
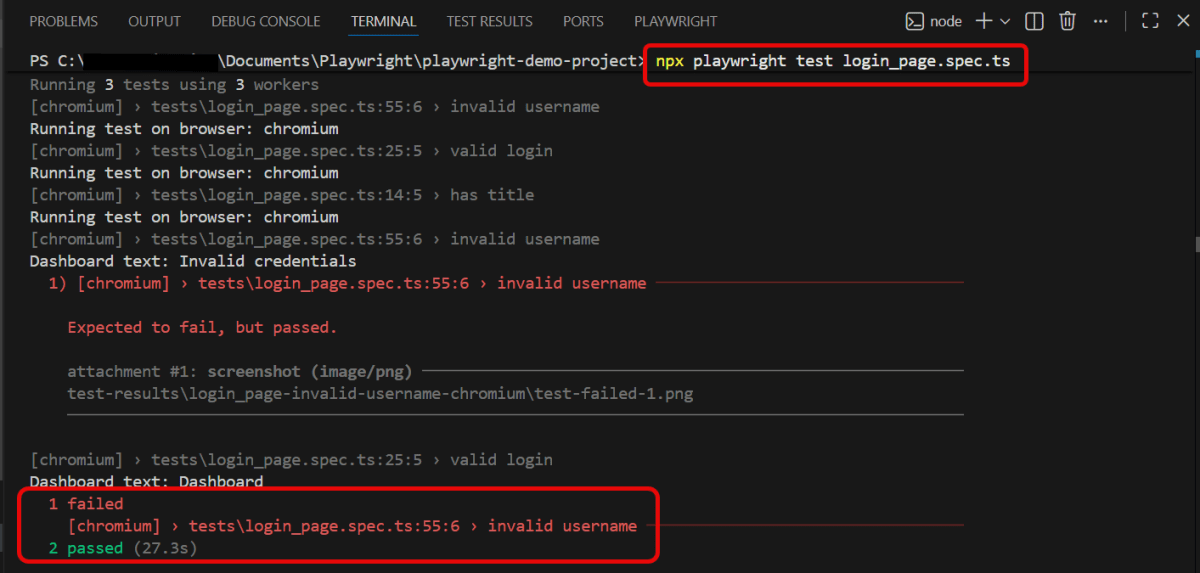
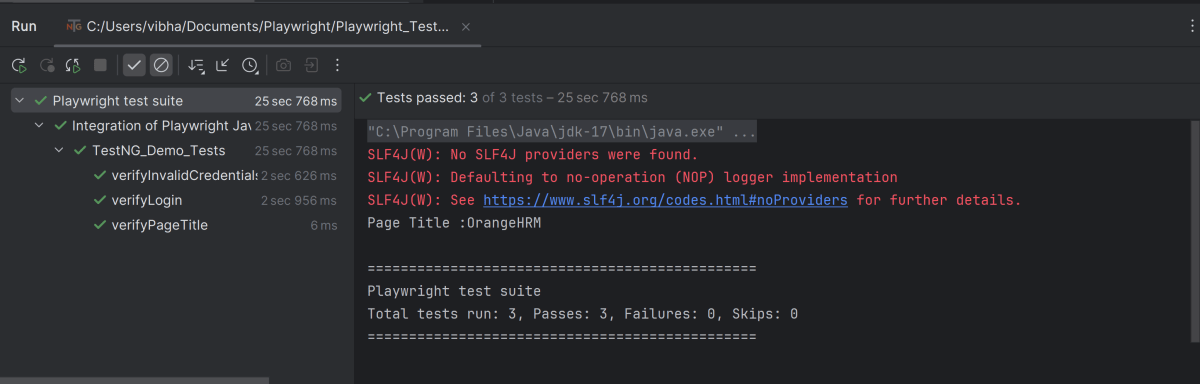
Below is the test execution result.
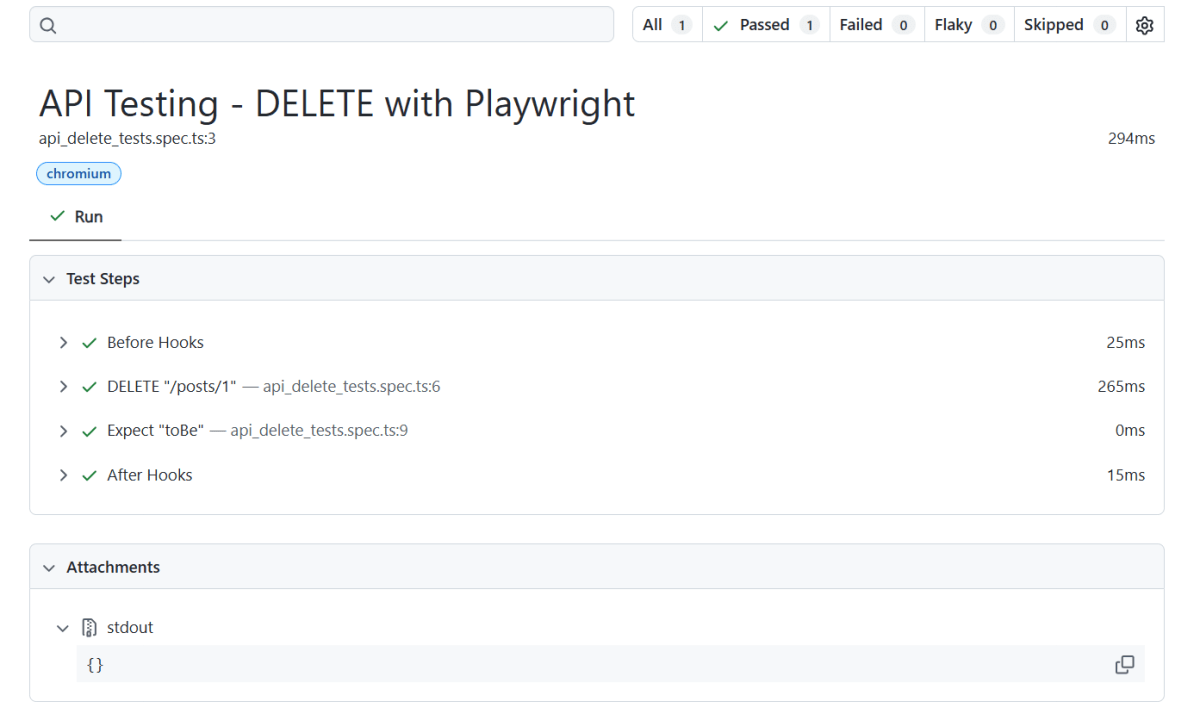
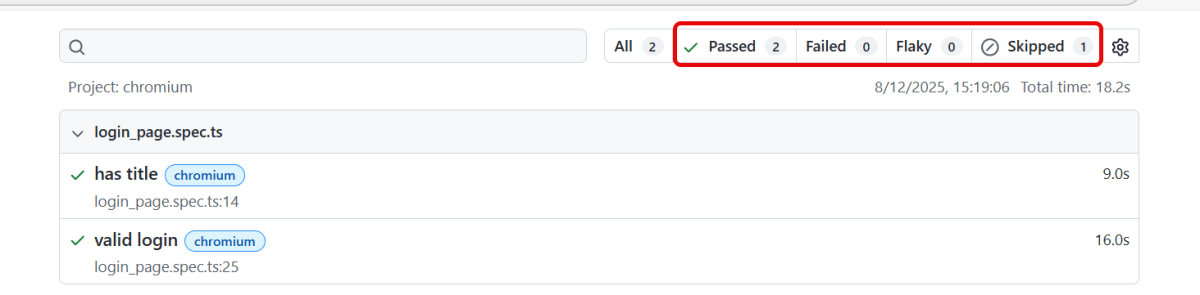
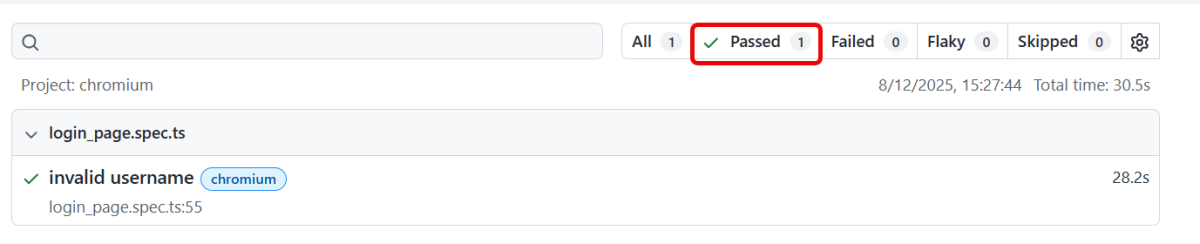
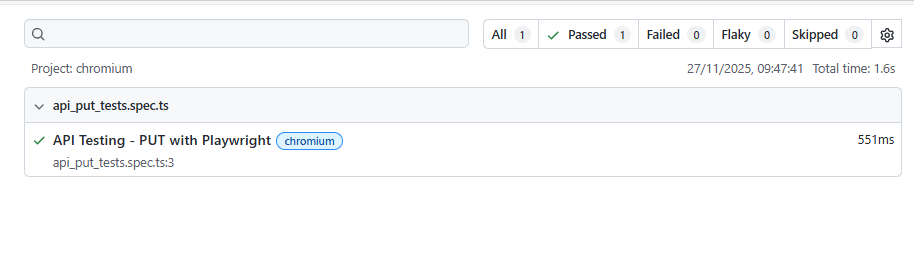
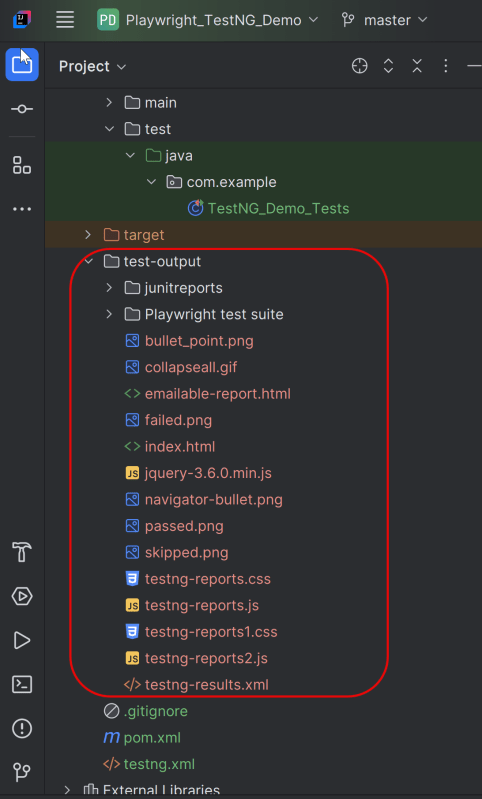
7. TestNG Report Generation
TestNG generates various types of reports under test-output folder like emailable-report.html, index.html, testng-results.xml.
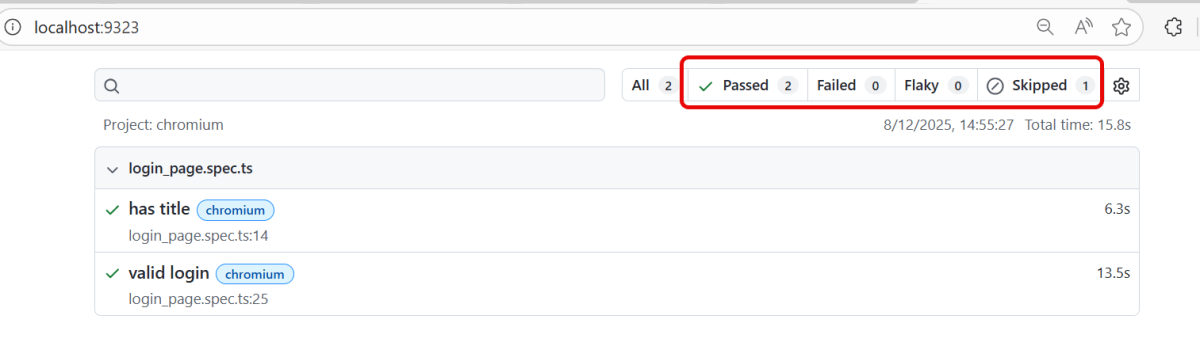
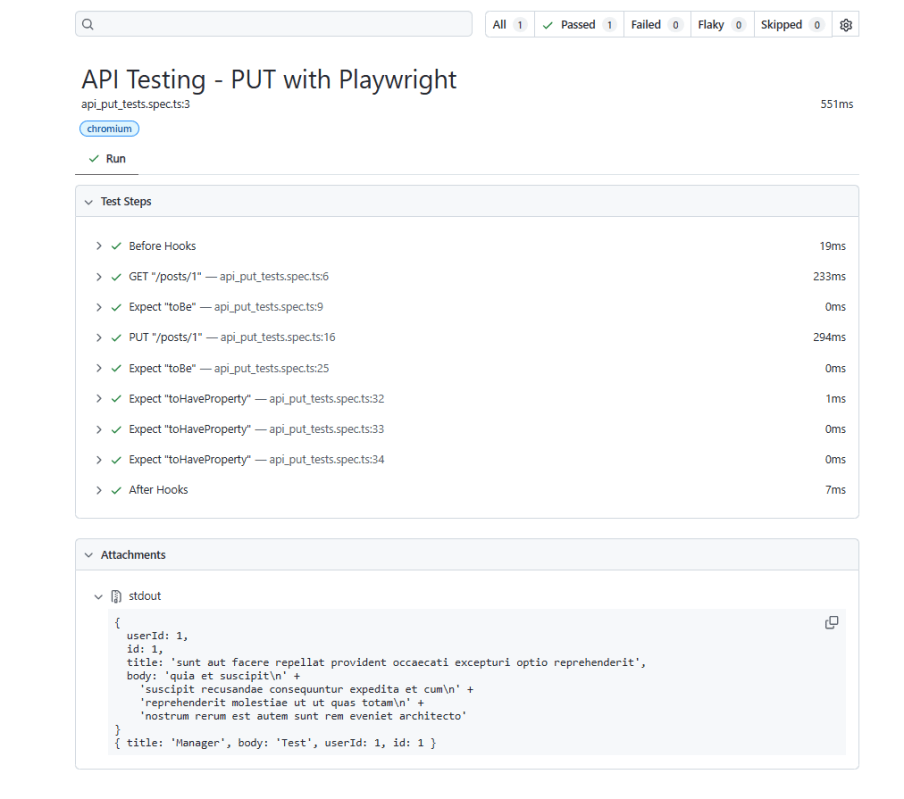
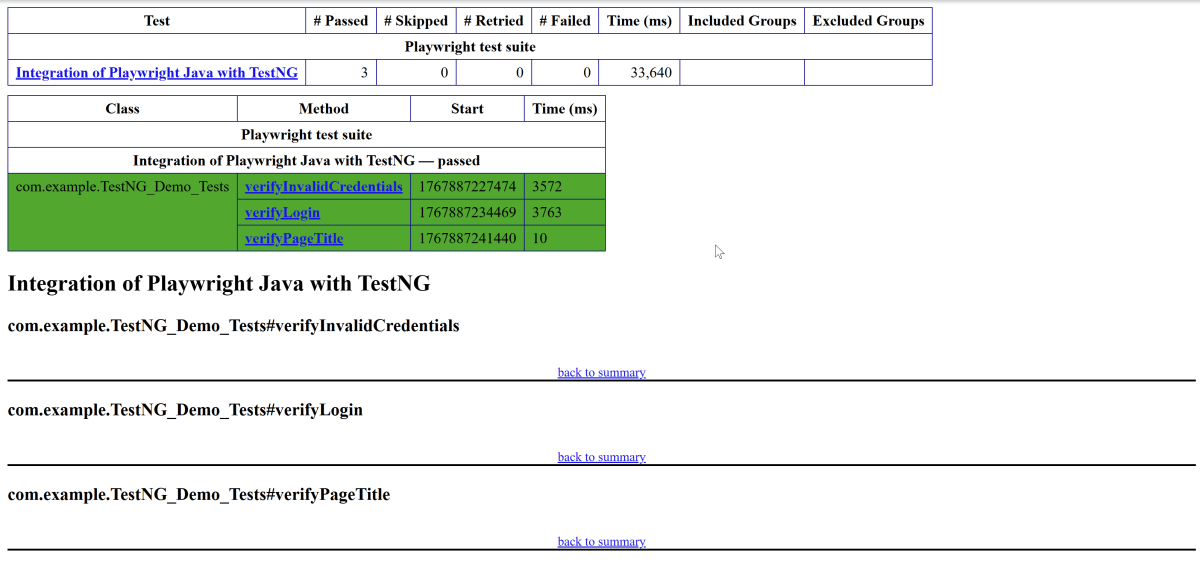
We are interested in the “emailable-report.html” report. Open “emailable-report.html“, as this is an HTML report, and open it with the browser. The below image shows emailable-report.html.
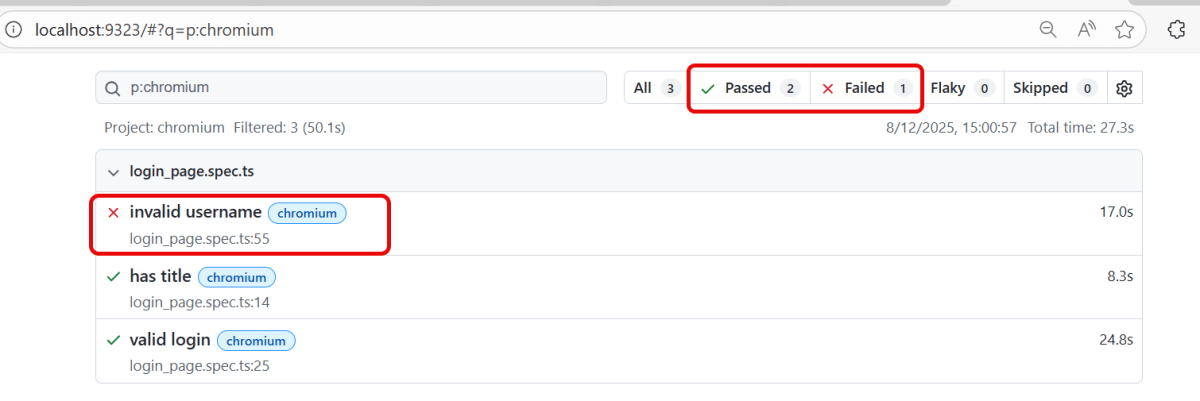
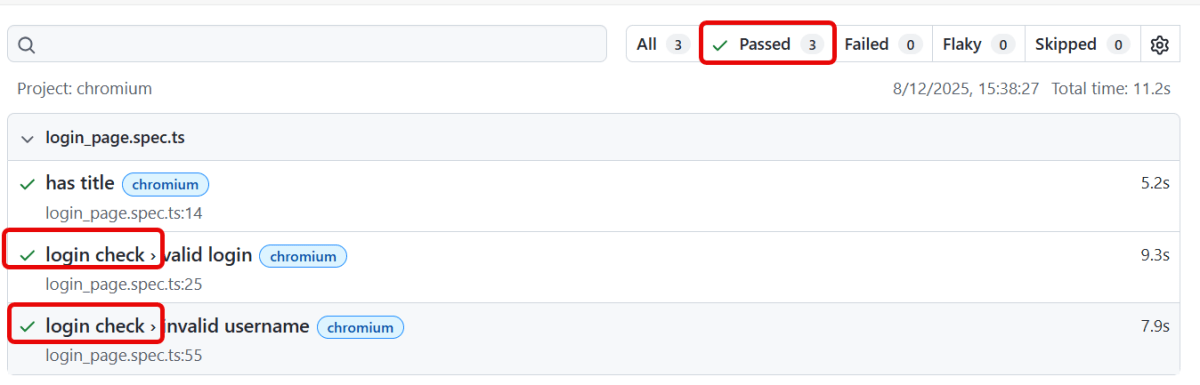
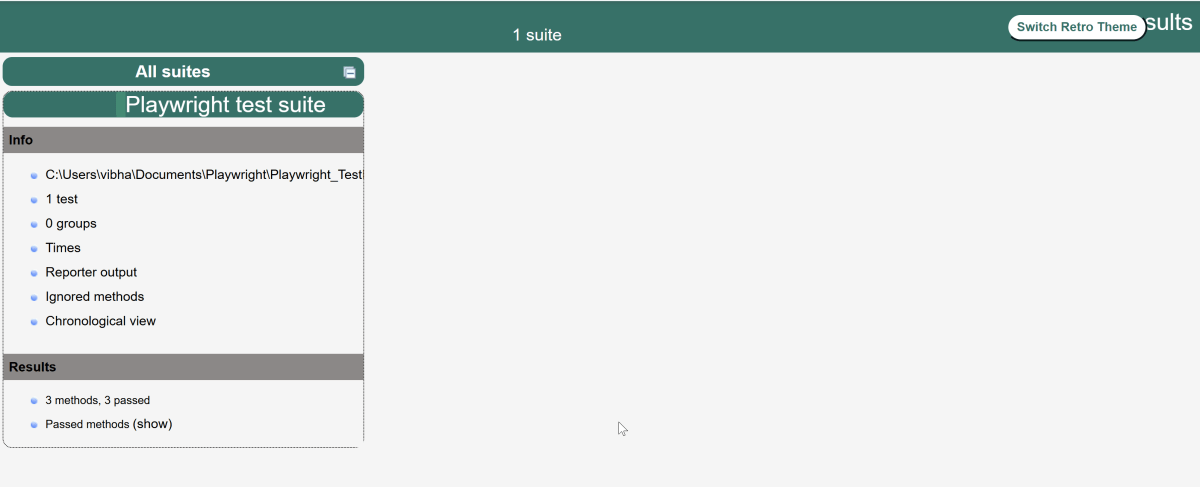
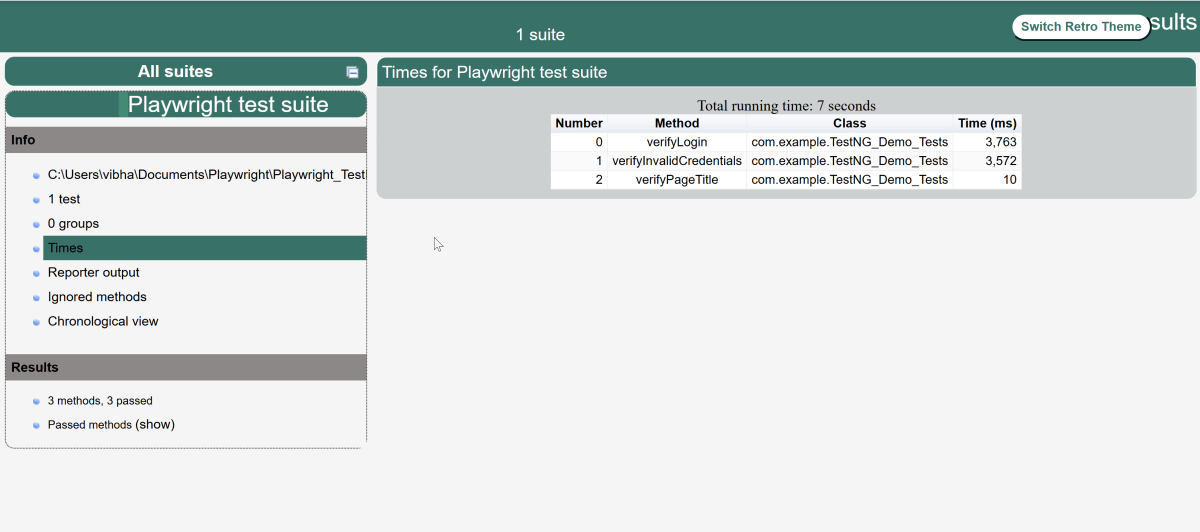
TestNG also produces an “index.html” report, and it resides under the test-output folder. The below image shows the index.html report. This is the latest theme of the report.
To know more about Playwright with TestNG, please refer to the official website of Playwright – https://playwright.dev/java/docs/test-runners