When you’re working with APIs, one of the most important things to understand is the Content-Type header. This header informs the API about the data type you’re sending. This is JSON, XML, or form data. It also specifies what type of response you expect back. If the Content-Type is set incorrectly, your request may fail or the server may not understand the data you’re sending.
Postman is a popular tool for testing APIs. It makes it really easy to add, update, or change headers. This includes Content-Type.
Table Of Contents
What is Content-Type?
The Content-Type header in HTTP requests and responses indicates the data format. It informs the server or client about the format of the data being sent or received. Common content types include:
- application/json: For JSON-formatted data.
- application/xml: For XML-formatted data.
- application/x-www-form-urlencoded: For URL-encoded form data.
- multipart/form-data: For file uploads.
- text/plain: For plain text.
- text/html: Used for sending HTML data
Step by Step Implementation
Create a Collection
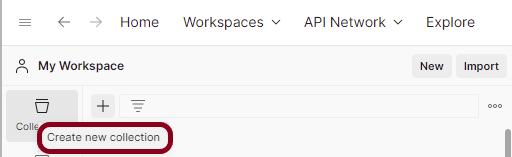
Step 1: Create a Collection, click on Collections, and then click on the “+” plus button.
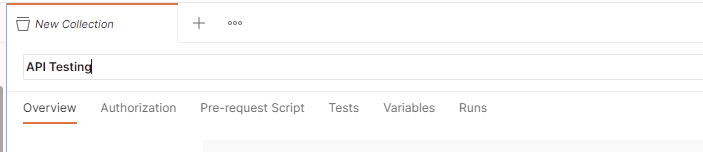
Step 2: Provide a name to the collection – “API Testing”.
Add a request to the Collection
Step 3: To create a new request, click on “Add a request”, if it is a new Collection. Otherwise, click on the 3 dots and select “Add request”.

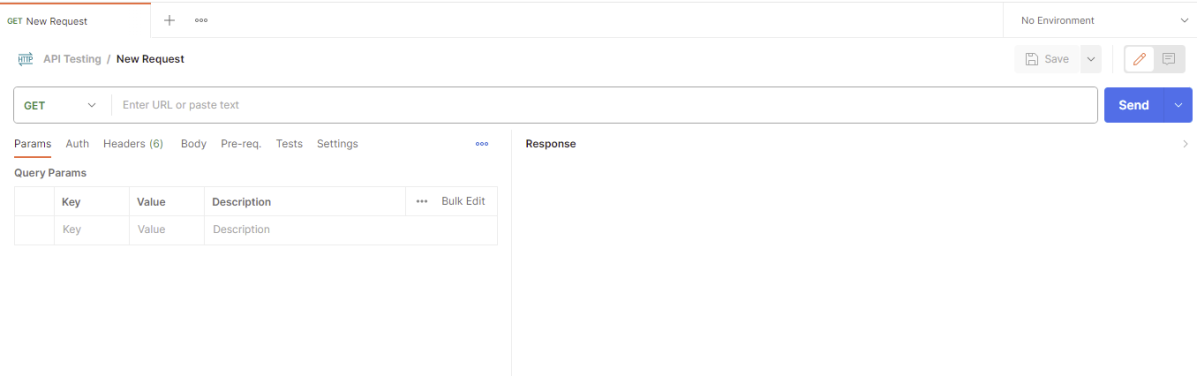
Step 4: Once you create a new request, then you will get the following window:
Enter the details of request
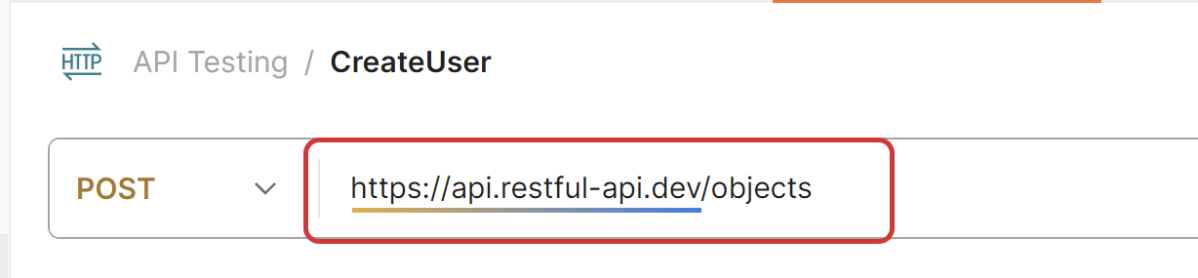
Step 5: Enter the “name” in the request. Here, the name is “Create User”.
Step 6: Enter the “URL” in the address bar.
https://api.restful-api.dev/objects
Add Headers to the request
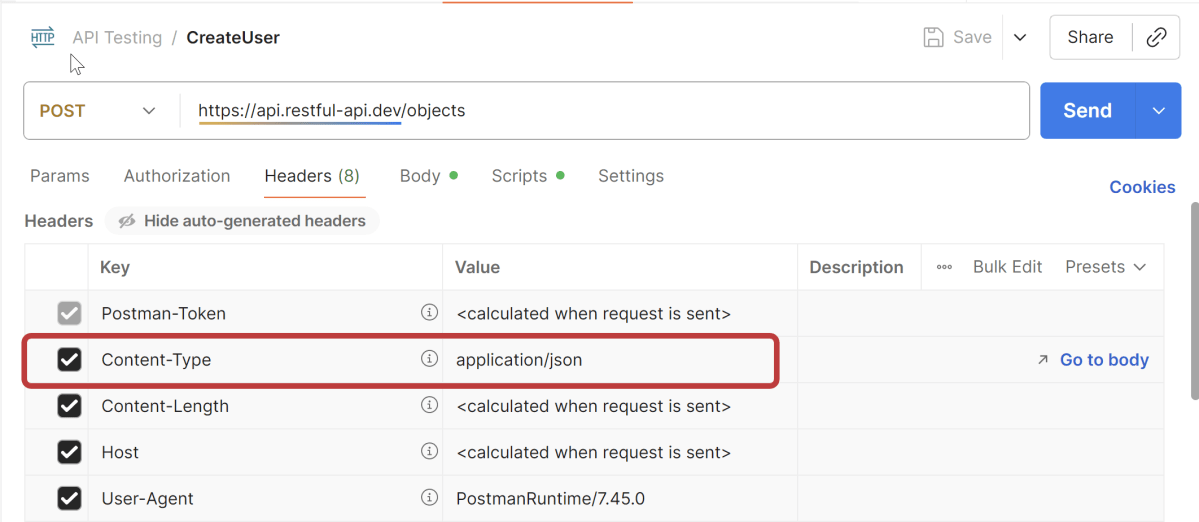
Step 7: Enter the “Headers” in the Header tab.
In your Postman request window, navigate to the Headers tab. This tab contains all the HTTP headers that are included in your request.
Scroll through the list of headers to find the Content-Type header. If it is not listed, you can add it manually. Click on the “Key” field and type Content-Type in the field. Then, move to the “Value” field to specify the appropriate Content-Type for your request.
Step 8: Add a Request body to the Post request.
Add the below request in the body.
{
   "name": "Apple MacBook Pro 16",
   "data": {
      "year": 2019,
      "price": 1849.99,
      "CPU model": "Intel Core i9",
      "Hard disk size": "1 TB"
   }
}
Press the “Send” button.
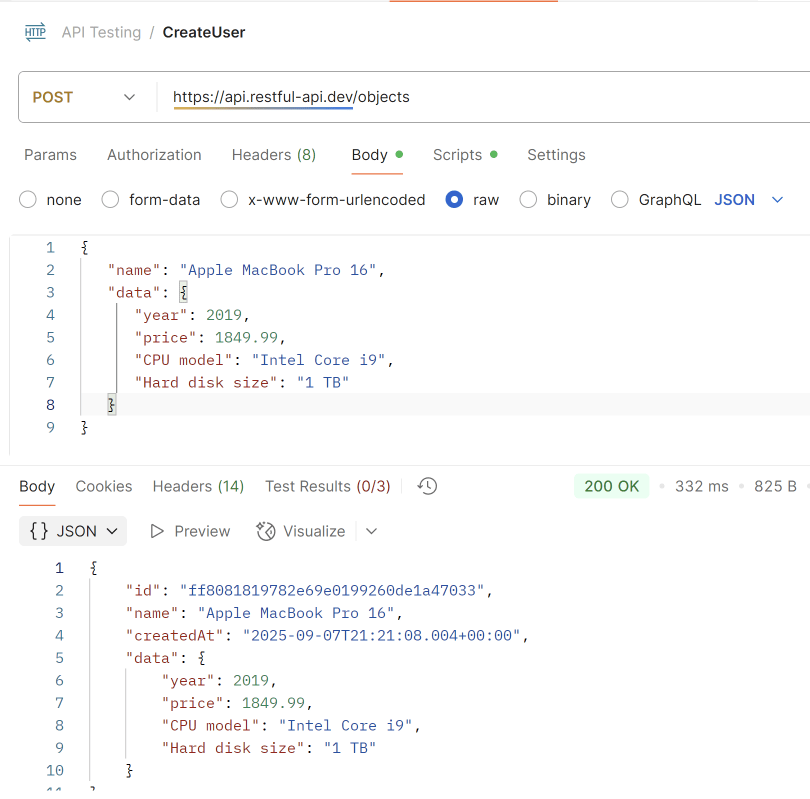
Verify the Response
Step 9: Once you press the send button, you will get the response from the server. Make sure you have a proper internet connection; otherwise, you will not get a response.
You can check the status code. Here, we got the status code 200, which means we got a successful response to the request.
We are done! Congratulations on making it through this tutorial and hope you found it useful! Happy Learning!!
