In this tutorial, we will discuss the API Chaining in the Postman.
Table of Contents
- What is API Chaining?
- How to create a Collection?
- Add 2 requests in the Postman
- Use Environment variables to parameterize the value to be referred
- Update the fetched values in the env variables
- Run the second request
What is API Chaining?
The API chaining method is to create a sequence of API calls where the output of one API request is used as the input for the next. The technique is an automated and efficient way of executing a Multistep Process.
We will learn to get a response from one API and pass it as a request parameter in another API.
How to create a Collection?
Step 1: Create a Collection, click on Collections, and then click on the “+” plus button.
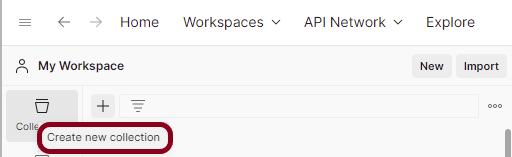
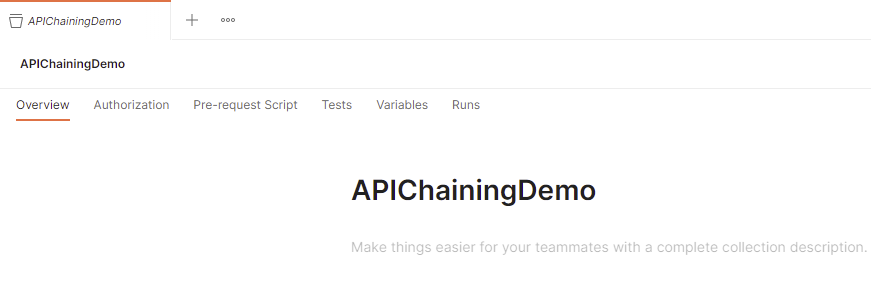
Step 2: Provide a name to the collection – “APIChainingDemo”.
Add 2 requests in the Postman
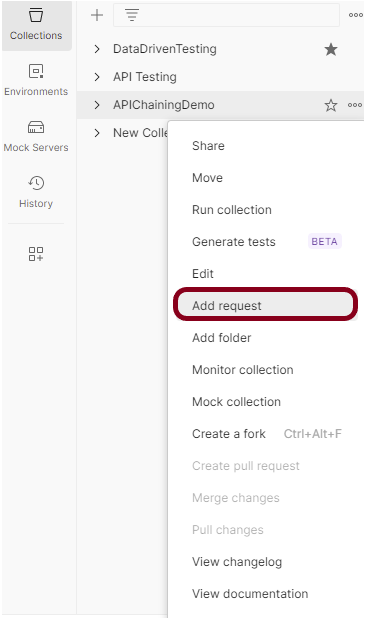
Step 1: To add new requests to the collection, click on Collection and click Add requests (please note it’s also possible to create a request first and then add it to the collection, as well as move-in requests from one collection to another).
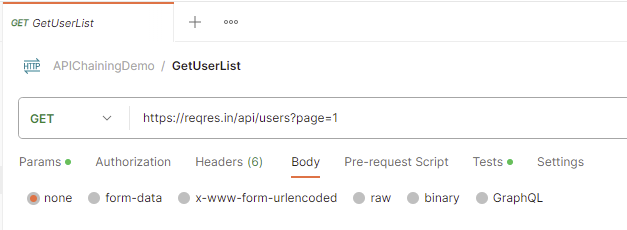
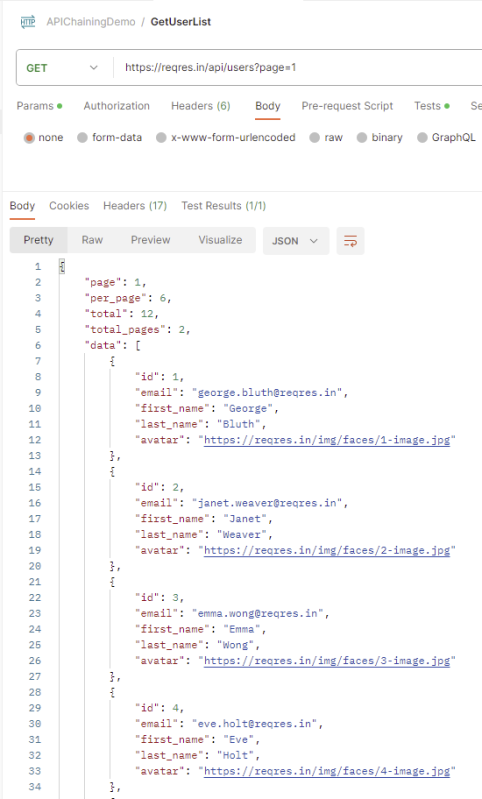
Request 1
https://reqres.in/api/users?page=1
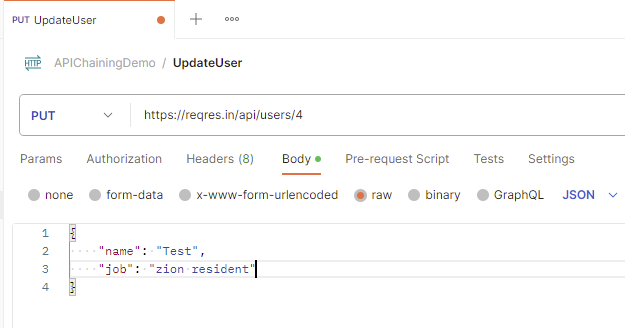
Request 2
https://reqres.in/api/users/4
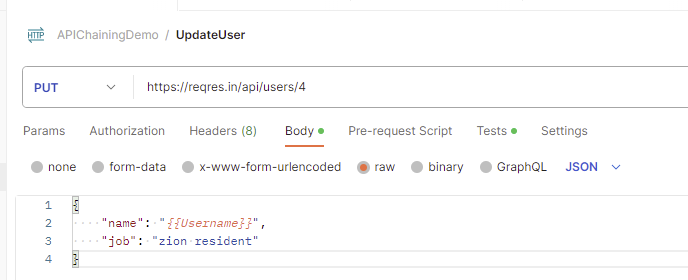
Request Body
{
    "name": "Test",
    "job": "zion resident"
}
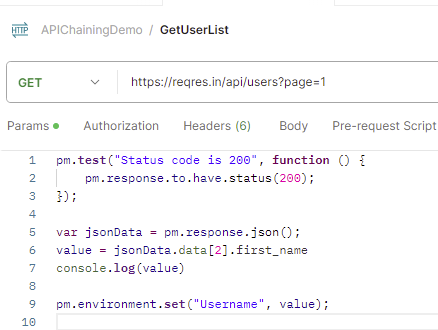
Below is the image of the first request in the collection.
The output of the first response is
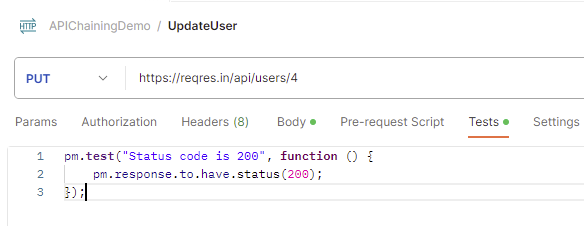
Below is the image of the second request in the collection.
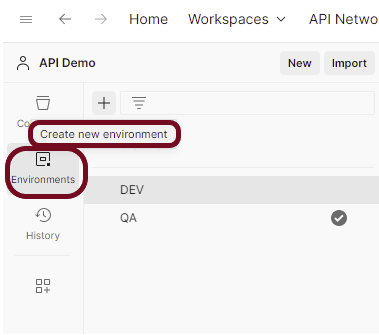
Use Environment variables to parameterize the value to be referred
Select Environments on the left and select +.
Enter a name for your environment, and initialize it with any variables you need. You can also specify variables for the environment later.
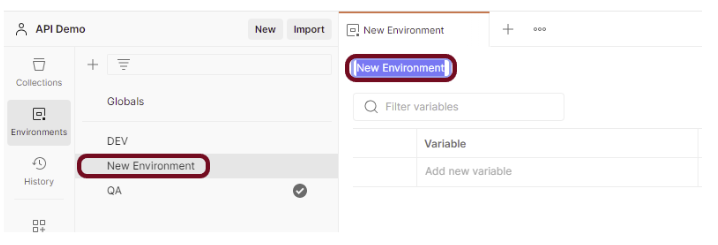
In the Key field, enter the name of the environment variable that will be used in the Postman Collection. In the Value field, enter the value that will replace the variable when the call is made. For example:

Add scripts to fetch the value from the response of the first API.
Go to the Test tab of the first request and add the script to get the value of first_name.
The first test will check if the status code for the first response is 200.
The second test will fetch the value of the 3rd first_name from the response.
The third test will assign the value fetched in the previous script to the “Username” variable.
pm.test("Status code is 200", function () {
    pm.response.to.have.status(200);
});

var jsonData = pm.response.json();
value = jsonData.data[2].first_name
console.log(value)

pm.environment.set("Username", value);
Go to the Test tab of the second request and add the script to verify the status code.
pm.test("Status code is 200", function () {
    pm.response.to.have.status(200);
});
Update the fetched values in the env variables
Go to the new request and select the environment created just now. In this case, I have selected “APIChainingEnv” environment. Replace the hard code value of first_name with {{Username}}.
Run the second request
The first request will fetch the first_name value and pass it to the name in the second request. We can see that “Emma” name is fetched from the first request and passed to the second request.

Congratulations. This tutorial has explained the steps to perform API Chaining in the Postman. Happy Learning!!
