Last Modified Date
In this tutorial, we will run the tests in the BDD format in Robot Framework.
What is BDD?
BDD is an Agile software development process in which an application is documented and designed around the behaviour that a user expects to see when interacting with it. BDD helps to avoid bloat, excessive code, unnecessary features, and lack of focus by encouraging developers to focus only on the requested behaviours of an app or program. This methodology combines, augments, and refines test-driven development (TDD) and acceptance testing practices.
The Given-When-Then syntax is a commonly used structure for writing user stories and acceptance criteria in a behaviour-driven development (BDD). It is used to describe the desired behaviour of a system in a clear, concise, and consistent manner.
The structure is broken down into three parts:
- Given: This section describes the initial state or context of the system. It sets the scene for the scenario being tested.
- When: This section describes the action or event that occurs. It specifies the trigger for the scenario being tested.
- Then: This section describes the expected outcome or result of the scenario. It defines the acceptance criteria for the scenario being tested.
Prerequisite:
- Install Python
- Install PIP
- Install Robot Framework
- Install Robot framework Selenium Library
- Install PyCharm IDE
Please refer to this tutorial to install Robot Framework – How to install and setup Robot Framework for Python.
Implementation Steps:
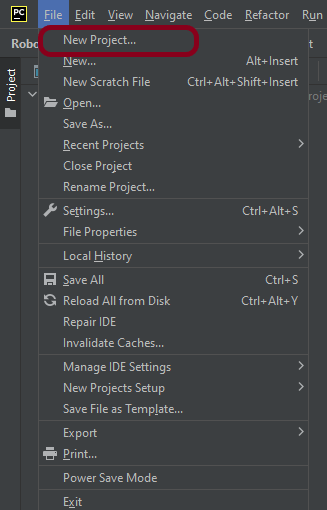
Step 1.1 – Open PyCharm and create a new project. Go to File and select New Project from the main menu.
Step 1.2 – Choose the project location. Click the “Browse” button next to the Location field and specify the directory for your project.
Deselect the Create a main.py welcome script checkbox because you will create a new Python file for this tutorial.
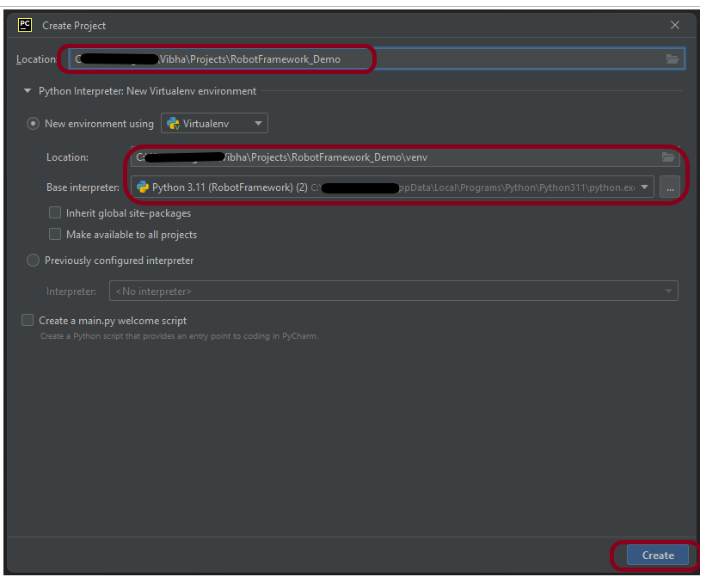
Click on the “Create” Button.
Step 1.3 – A new dialog appears asking to open the project using any one of the given options. I have selected New Window as I like to have separate windows for each project.

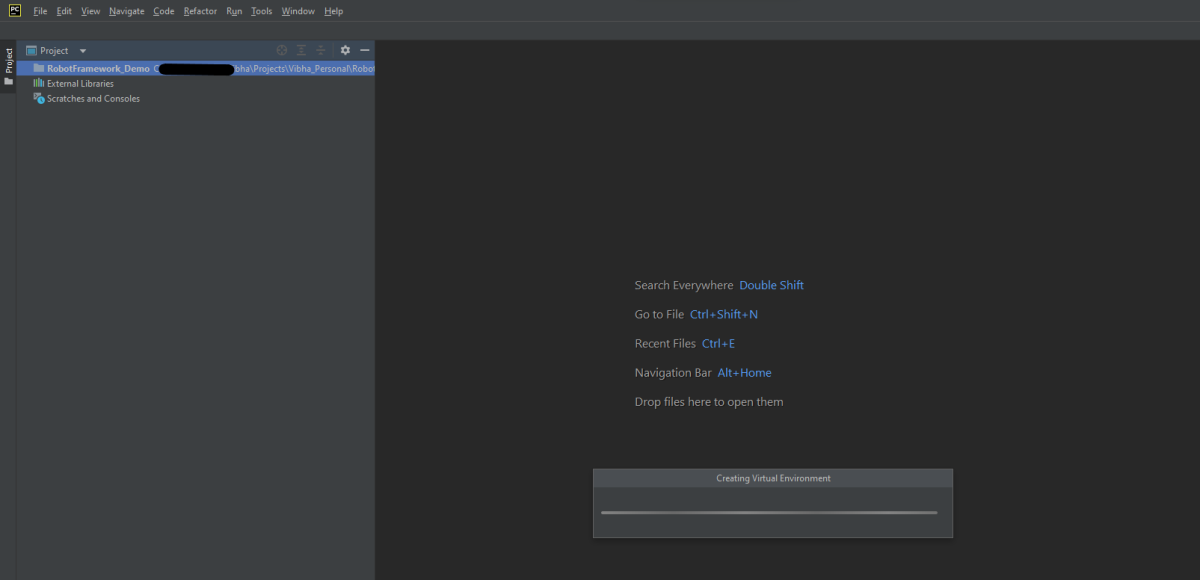
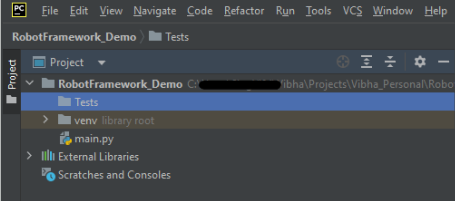
Below is the image of the new project created in PyCharms.
How to run tests in BDD format in Robot Framework?
Step 2 – Create a new directory in the new project
Right-Click on the project, select New->Directory and provide name as Tests
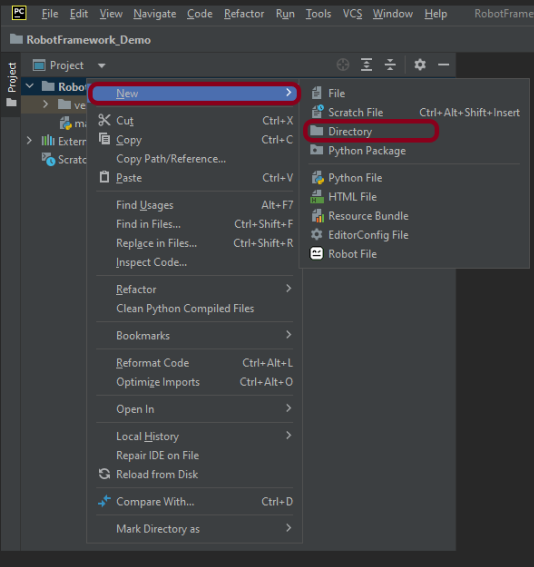
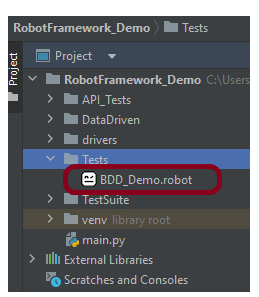
Below is the image of the new directory.
Right-click on the new directory and select New File and provide the name as BDD_Demo.robot as shown below:
Step 3 – Execute the tests
We are now going to write test cases. The test case details will be as follows −
- Open browser − URL − https://opensource-demo.orangehrmlive.com/web/index.php/auth/login in Chrome mode
- Enter username and password in the search textbox
- Click Search Button
- Verify the error message (Scenario 1)
- Verify Dashboard page opens (Scenario 2)
To work with the Robot Framework, we need a locator. A locator is an identifier for the textbox like id, name, class, xpath, css selector, etc.
To know more about locators, refer to these Selenium Tutorials:
Locators in Selenium – Locate by ID, ClassName, Name, TagName, LinkText, PartialLinkText
Dynamic XPath in Selenium WebDriver
CSS Selector in Selenium WebDriver
Below is an example of tests in BDD format.
*** Settings ***
Documentation       Tests to login to Login Page
Library     SeleniumLibrary

*** Variables ***
${valid_username}     Admin
${valid_password}       admin123
${invalid_password}     45678
${url}      https://opensource-demo.orangehrmlive.com/web/index.php/auth/login
${browser_name}      Chrome
${login_error_message}      css:.oxd-alert-content--error
${dashboard_title}       css:.oxd-topbar-header-breadcrumb-module


*** Test Cases ***

Validate Unsuccessful Login using invalid credentials
    [Tags]    SMOKE
    Given I open the Browser with URL
    When I fill the login form     ${valid_username}       ${invalid_password}
    Then I verify the error message is correct
    And Close Browser Session

Validate successful Login
    [Tags]    UAT
    Given I open the Browser with URL
    When I fill the login form     ${valid_username}       ${valid_password}
    Then I verify Dashboard page opens
    And Close Browser Session

*** Keywords ***

Given I open the Browser with URL
    Create Webdriver    ${browser_name}  executable_path=/Vibha_Personal/RobotFramework_Demo/drivers/${browser_name}
    Go To       ${url}
    Maximize Browser Window
    Set Selenium Implicit Wait    5

When I fill the login form
   [Arguments]    ${username}      ${password}
   Input Text    css:input[name=username]   ${username}
   Input Password    css:input[name=password]   ${password}
   Click Button    css:.orangehrm-login-button

Then I verify the error message is correct
    Element Text Should Be    ${login_error_message}    Invalid credentials

Then I verify Dashboard page opens
    Element Text Should Be    ${dashboard_title}      Dashboard


And Close Browser Session
    Close Browser
All the below-mentioned keywords are derived from SeleniumLibrary except the last one. The functionality of keywords mentioned above:
1. Open Browser − The keyword opens a new browser instance to the optional URL.
2. Maximize Browser Window – This keyword maximizes the current browser window.
3. Set Selenium Implicit Wait – This keyword sets the implicit wait value used by Selenium.
4. Input Text − This keyword is used to type the given text in the specified textbox identified by the locator name:username.
5. Input Password – This keyword is used to type the given text in the specified password identified by the locator name:password.
The difference compared to Input Text is that this keyword does not log the given password on the INFO level.
6. Click button – This keyword is used to click on the button with location css:.orangehrm-login-button.
7. ${result} – This is a variable that holds the text value of the error message that is located by css:.oxd-alert-content-text
8. Element Text Should Be – This keyword is used to verify that the element locator contains exact the text expected.
These keywords are present in SeleniumLibrary. To know more about these keywords, please refer to this document – https://robotframework.org/SeleniumLibrary/SeleniumLibrary.htm.
To run this script, go to the command line and go to directory tests.
Step 4 – Execute the tests
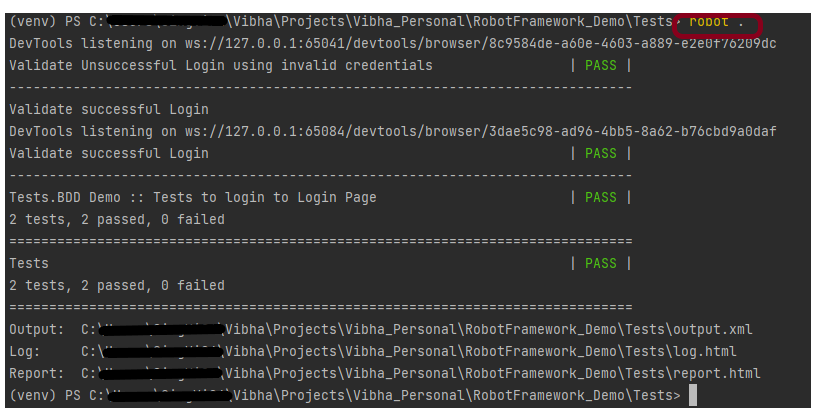
We need the below command to run the Robot Framework script.
robot .
The output of the above program is
Step 5 – View Report and Log
We have the test case passed. The Robot Framework generates log.html, output.xml, and report.html by default.
Let us now see the report and log details.
Report
Right-click on report.html. Select Open In->Browser->Chrome(any browser of your wish).

The Report generated by the framework is shown below:

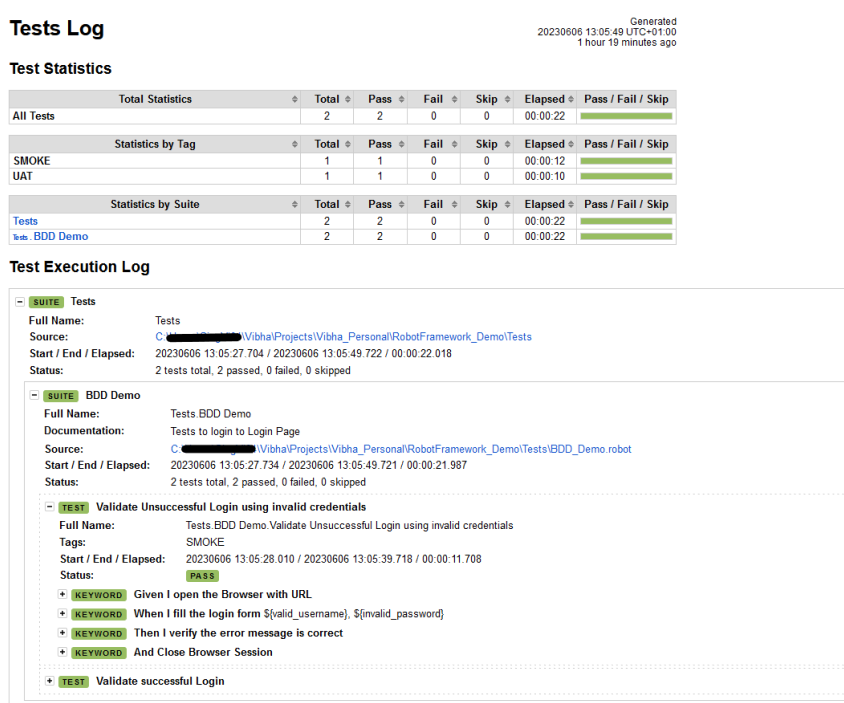
Log
Robot Framework has multiple log levels that control what is shown in the automatically generated log file. The default Robot Framework log level is INFO.
Right-click on log.html. Select Open In->Browser->Chrome(any browser of your wish).
That’s it! Congratulations on making it through this tutorial and hope you found it useful! Happy Learning!!
