In the previous tutorial, I explained How to create a Java Gradle project using Command Line. This tutorial will explain How to import the Java Gradle project in Eclipse.
Steps to follow:-
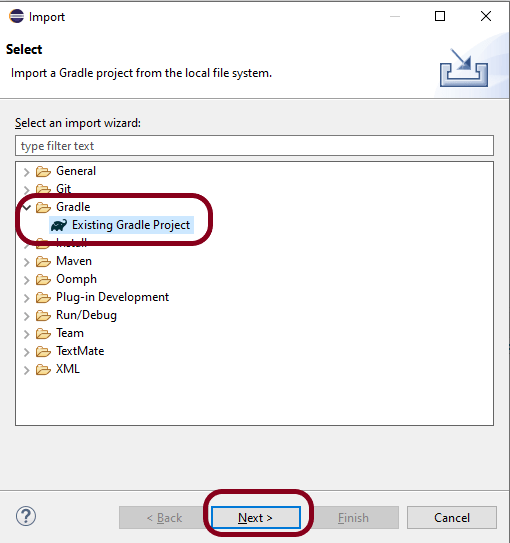
Step 1 – Open Eclipse IDE. In Eclipse IDE, select File ->Import ->Maven ->Existing Gradle Project. Click NEXT Button.
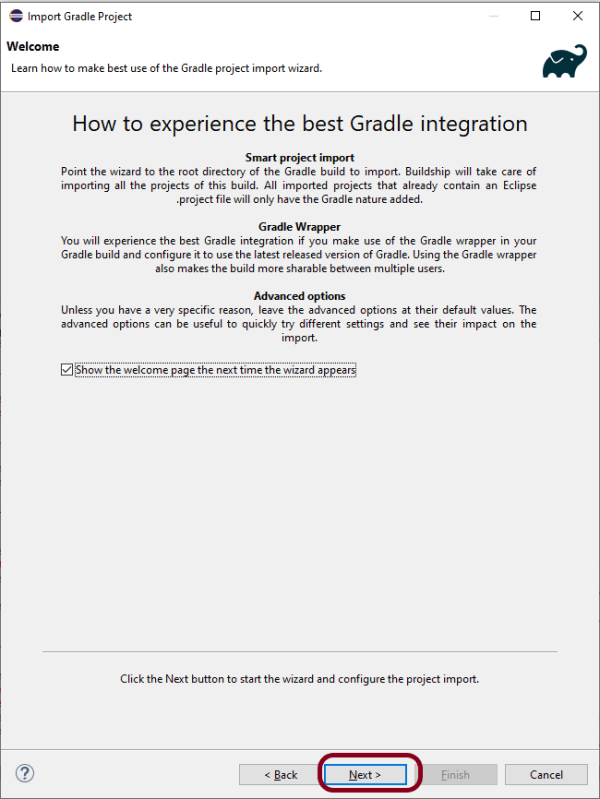
Step 2 – A welcome screen will appear. You can uncheck the box – Show the welcome page the next time the wizard appears. This is optional. Click the NEXT button.
Step 3 – Browse the location from where you want to import the Gradle project. Click the NEXT button.

Step 4 – This screen allows us to Configure Customized Workspace Settings. This shows that Gradle Version 7.0 is used for this project. Click the Finish Button.

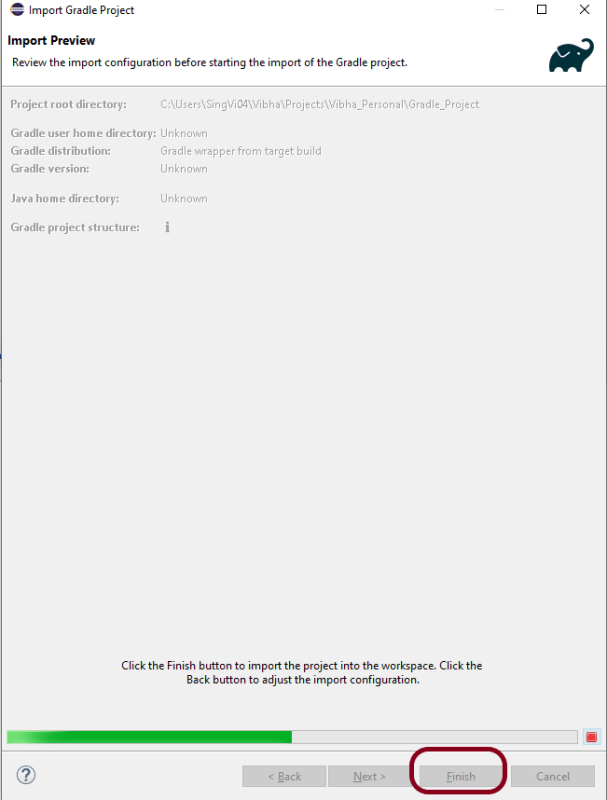
Step 5 – This screen allows us to review the import configuration. If you feel something is incorrect, click the BACK Button.
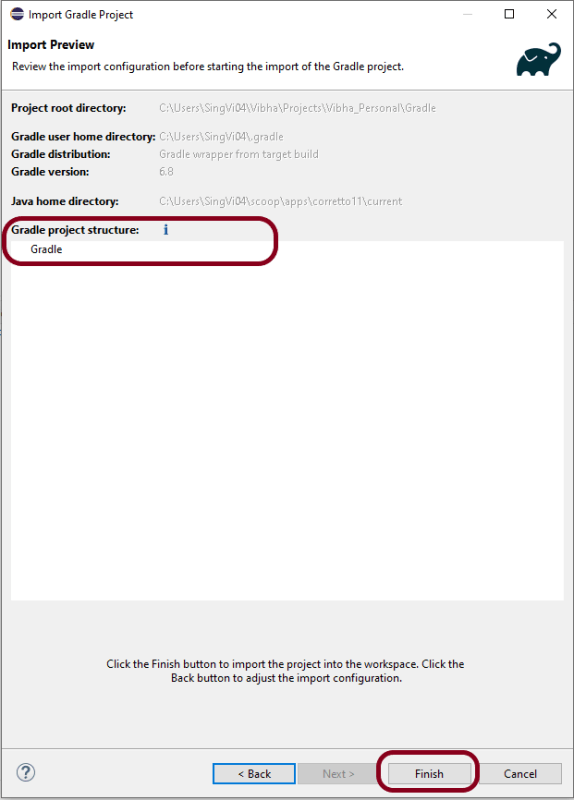
Step 6 – We can see that the Gradle project Name is Gradle and other details like Version. Click the FINISH Button. This will import the project structure into Workspace.
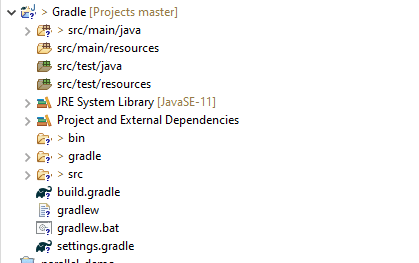
Step 7 – Below is the imported project Structure in Eclipse.
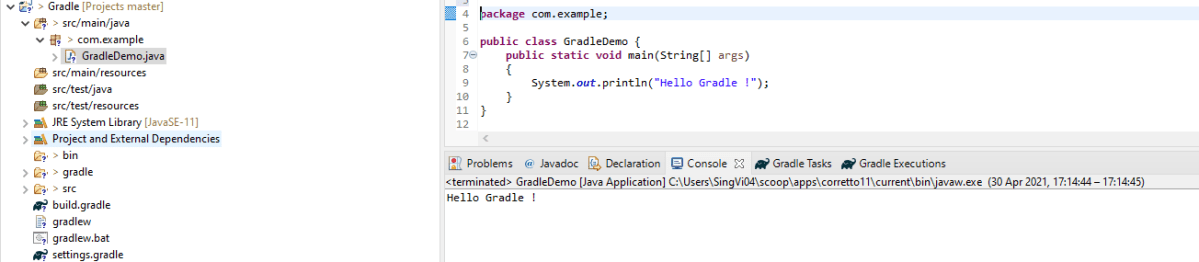
Step 8 – To check if the project is imported successfully. Run GradleDemo.java class by right click on the Java class and Run As Java Application.
That’s it! We have imported a Gradle Project in Eclipse.
Congratulations on making it through this tutorial and hope you found it useful! Happy Learning!! Cheers!!
